How to Organize a Storage Unit Like a Professional |
| HOW TO ORGANIZE A STORAGE UNIT LIKE A PROFESSIONAL
⏱ 11 min read ·
📄 #2,087 words
Learn professional storage unit organization with step-by-step strategies for shelving, labeling, and maximizing space. Expert tips for 50% faster retrieval.
|
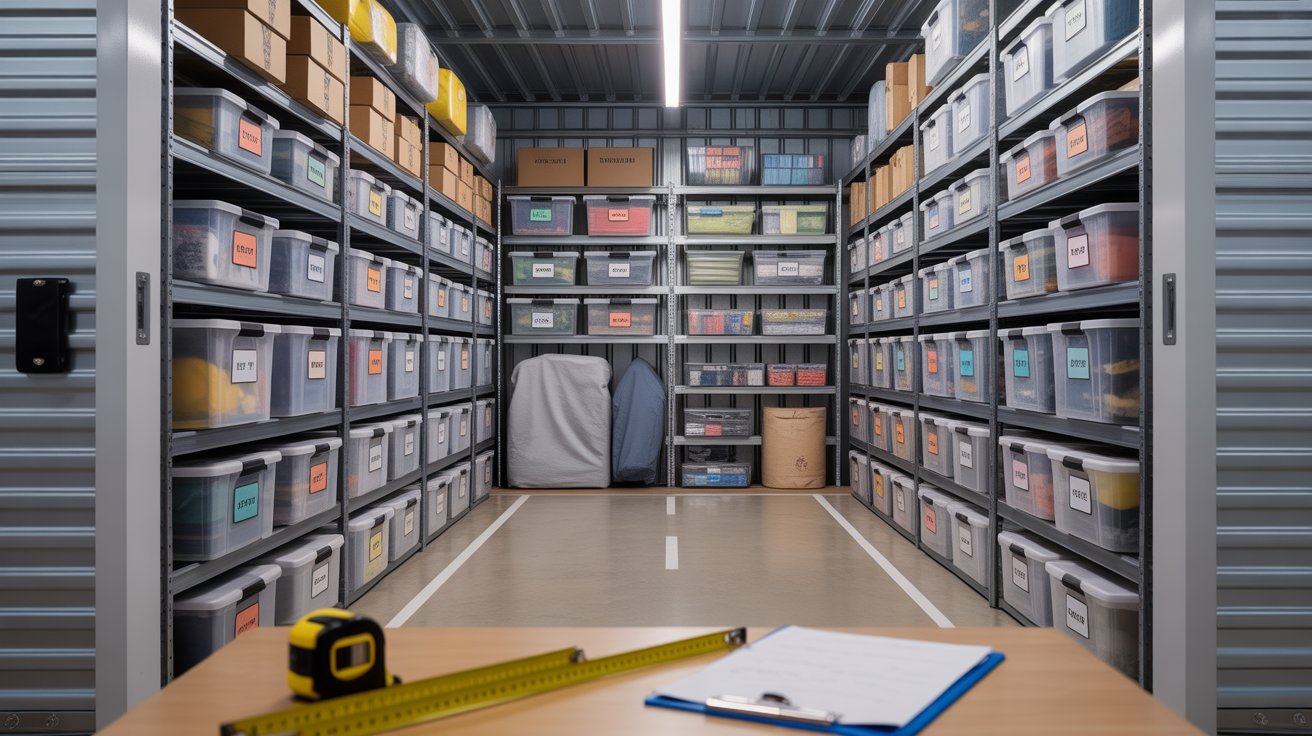
P rofessional storage unit organization follows a seven-step system: declutter first, create a detailed inventory, use uniform stackable containers, install shelving for vertical space, label everything on multiple sides, maintain clear access aisles, and implement quarterly maintenance reviews. This approach reduces retrieval time by 50% compared to floor-stacked units.
| Key Points: | |
|---|---|
| • | Declutter before storing: 80% of storage unit chaos stems from poor initial categorization |
| • | Maximize vertical space with shelving units rated for 250+ pounds per shelf |
| • | Label all containers on three sides for identification from any angle |
| • | Create 24-inch minimum aisles for dolly access and safe navigation |
| • | Review and reorganize quarterly to prevent accumulation of forgotten items |
Step 1: Declutter Before You Store
The biggest mistake renters make is treating storage units as overflow space for items they should discard. Professional organizers recommend sorting everything into four categories before moving a single box: Keep (items used within the past 12 months), Donate (good condition but unused), Discard (broken, expired, or damaged), and Store (seasonal or sentimental items worth preserving).
This initial sort typically reduces storage volume by 25 to 40 percent. For a 10x10 storage unit, that reduction could mean the difference between a cramped layout and an organized space with clear aisles, or even choosing a smaller unit after comparing current live rates.
The 12-Month Rule
If you have not used, worn, or needed an item in the past year, question whether it deserves storage space. Exceptions include seasonal gear (ski equipment, holiday decorations), documented sentimental items, and emergency supplies. Everything else should face scrutiny.
Step 2: Create a Detailed Inventory
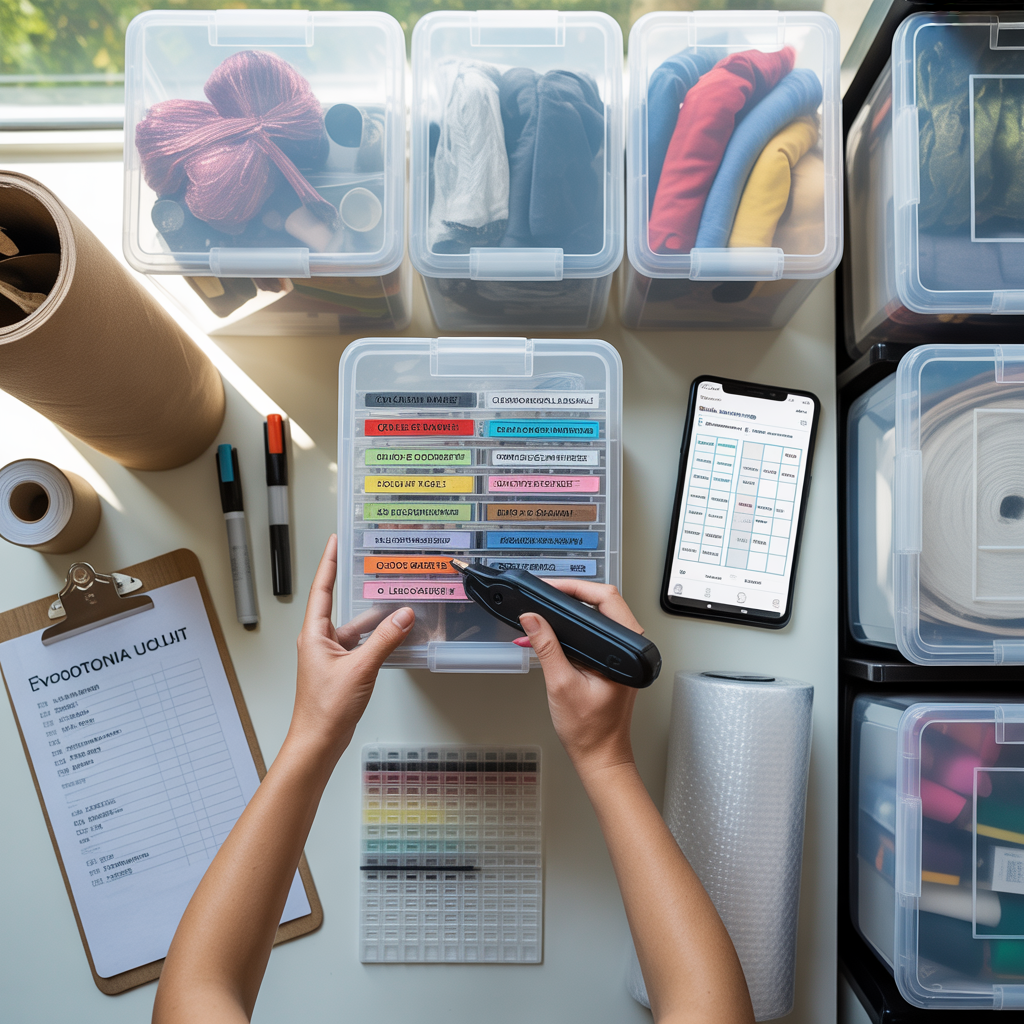
Professional organizers maintain written or digital inventories of every item entering storage. This prevents "secret clutter" (items forgotten in boxes) and makes retrieval straightforward. Your inventory should include item descriptions, container numbers, approximate values for insurance purposes, and location within the unit.
Use a simple spreadsheet or note-taking app with these columns: Box Number, Contents Summary, Category, Date Stored, and Unit Location (front, middle, back). Update this list each time you add or remove items. This 15-minute investment saves hours of searching later.
Photography Documentation
Take photos of valuable items before storing them. This serves two purposes: insurance documentation if items are damaged or stolen, and visual reference when you cannot remember exactly what you stored. Store photos in a cloud folder organized by category.
Step 3: Choose Uniform, Sturdy Containers
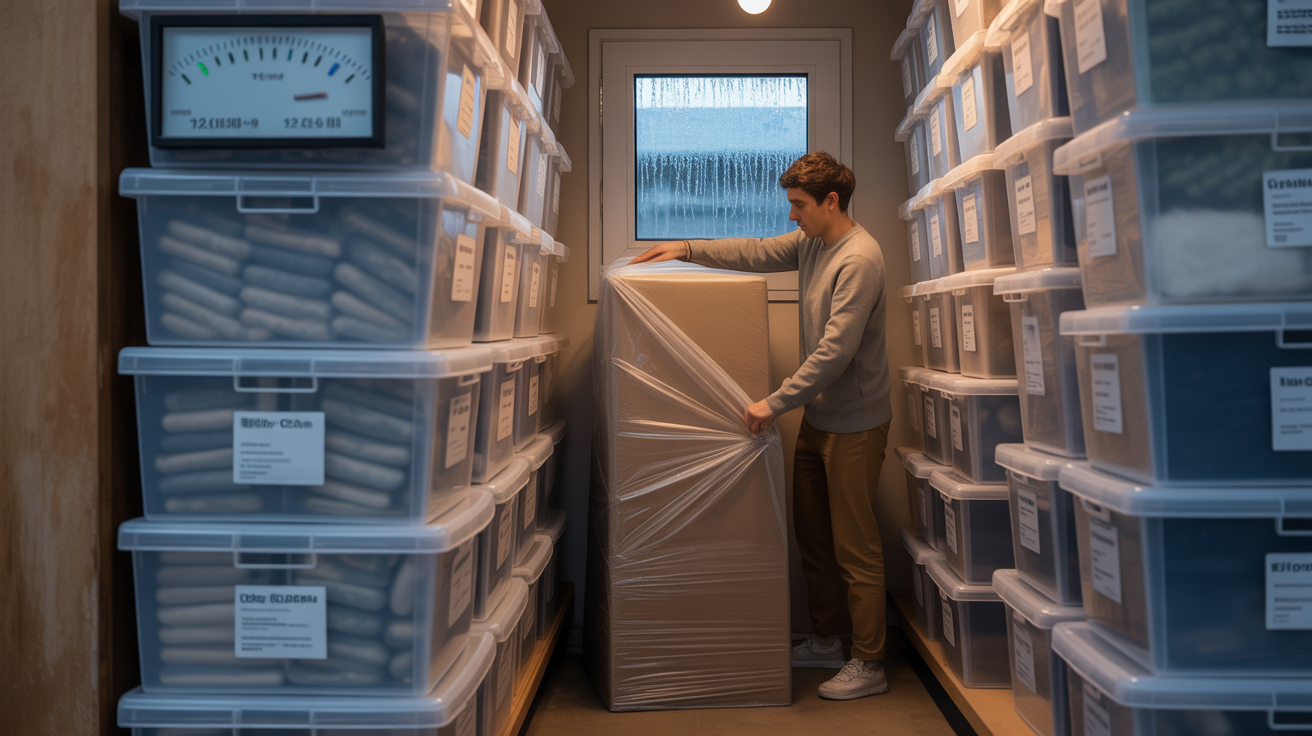
Professional organizers unanimously recommend clear plastic storage totes over cardboard boxes. Plastic containers stack more securely, resist moisture and pests, and allow visual identification of contents without opening. Invest in containers rated for stacking (typically 50-75 pounds per container) with interlocking lids.
Standardize your container sizes. Using two or three consistent sizes (small: 15-quart, medium: 56-quart, large: 105-quart) creates stable stacks and maximizes vertical space. Mismatched containers create unstable towers that collapse and waste space.
Container Cost Breakdown
| Container Type | Cost per Unit | Best For |
|---|---|---|
| Clear plastic totes (56-qt) | $8-15 | General storage, clothing, linens |
| Heavy-duty moving boxes | $2-5 | Books, documents, short-term storage |
| Weathertight containers | $20-35 | Electronics, photos, important documents |
| Vacuum storage bags | $15-25 (set of 6) | Bedding, seasonal clothing, pillows |
Step 4: Install Shelving for Vertical Space
Floor-stacked boxes waste 40-60% of available cubic footage. Freestanding metal shelving units transform unusable vertical space into accessible storage. For a standard 10x10 unit with 8-foot ceilings, adding three 6-foot shelving units along the walls creates 72 additional square feet of storage surface.
Choose shelving rated for at least 250 pounds per shelf. Wire shelving allows visibility and airflow; solid shelving provides more stable surfaces for irregular items. Position shelving along side walls, leaving the center and back for large items like furniture and appliances.
Shelving Investment Calculation
A quality 5-shelf unit costs $50 to $100 and adds approximately 24 square feet of storage surface. If that additional organization allows you to rent a smaller unit, the shelving may pay for itself quickly while keeping your belongings easier to reach. Estes Park Storage offers drive-up access that makes moving shelving units straightforward.
Step 5: Label Everything on Multiple Sides
Professional organizers label every container on at least three sides: front, top, and one end. This ensures identification regardless of how containers are stacked or positioned. Use large, legible labels (minimum 1-inch letters) with permanent markers or printed labels.
Include these details on each label: general category (Holiday, Kitchen, Garage), specific contents summary (Christmas lights, tree stand, ornaments), and a box number that corresponds to your inventory. Color-coding by category speeds identification further.
Color-Coding System
- Red labels: Holiday and seasonal decorations
- Blue labels: Clothing and textiles
- Green labels: Outdoor and sporting equipment
- Yellow labels: Kitchen and household items
- Orange labels: Documents and important papers
- Purple labels: Sentimental and keepsake items
Step 6: Create Access Pathways and Zones
Professional storage organization requires clear pathways for safe navigation and retrieval. Maintain a minimum 24-inch center aisle from the unit door to the back wall. This width accommodates a standard dolly and allows you to reach items without climbing over boxes.
Organize your unit into zones based on access frequency. Place items you need monthly or seasonally within the first 4-6 feet of the entrance. Store rarely accessed items (archived documents, childhood memorabilia) toward the back. This zoning prevents the frustrating scenario of unpacking half the unit to reach one box.
The Three-Zone System
Zone A (Front 1/3): Seasonal items accessed 2-4 times yearly, such as holiday decorations, seasonal clothing, and sporting equipment. These should be immediately accessible without moving other items.
Zone B (Middle 1/3): Occasionally accessed items like extra furniture, kitchen appliances, and overflow household goods. Accessible with minimal rearrangement.
Zone C (Back 1/3): Long-term storage items including archives, keepsakes, and items you access once yearly or less. Stack these securely since they will not move often.
Step 7: Implement Maintenance Systems
Professional organization requires ongoing maintenance, not a one-time effort. Schedule quarterly visits (15-30 minutes) to assess your unit, remove items no longer needed, and verify organization systems remain functional. These brief reviews prevent gradual descent into chaos.
Establish container limits: when a category bin fills completely, that signals time to declutter rather than add another container. This "one in, one out" principle prevents storage units from becoming permanent holding zones for items you will never use.
Quarterly Review Checklist
- Walk through and verify all labels remain legible
- Check for signs of moisture, pests, or damage
- Remove any items you no longer need
- Update inventory with any changes
- Verify access aisles remain clear
- Test that frequently accessed items are still easily reachable
Protecting Specific Item Categories
Furniture Storage
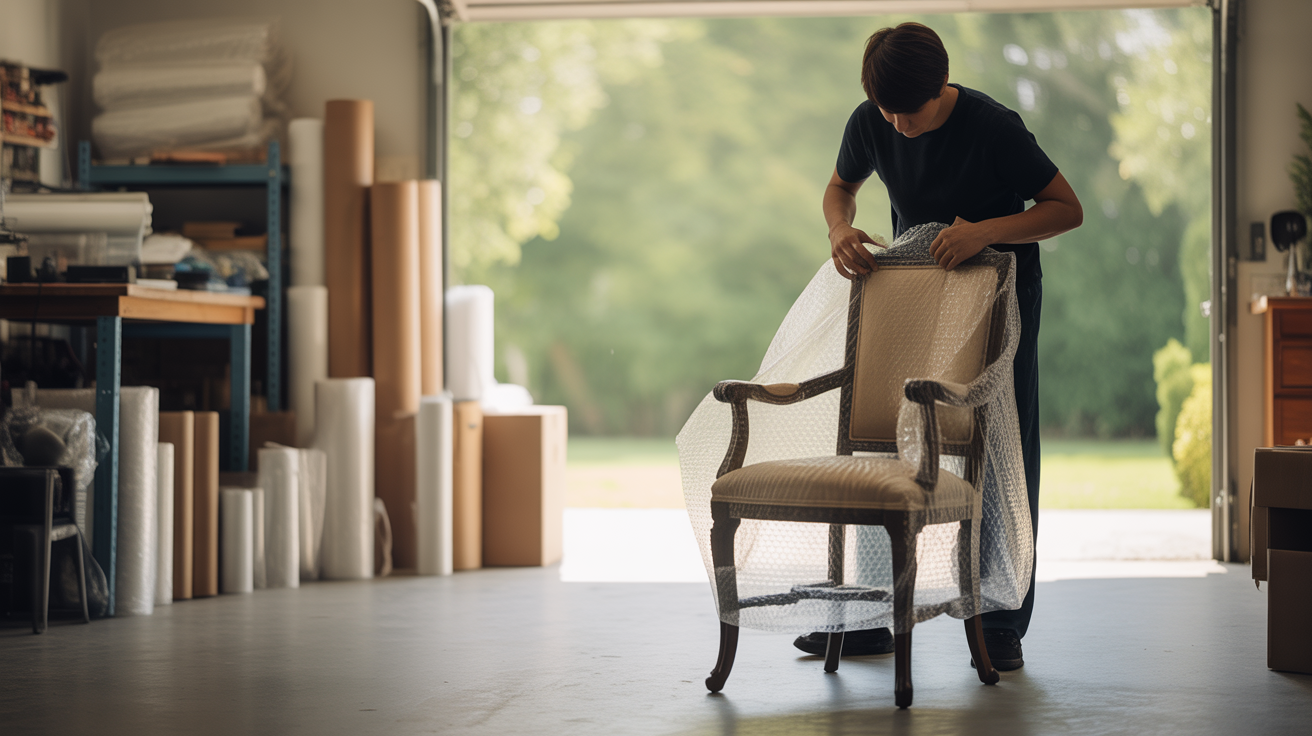
Disassemble furniture when possible to maximize space. Remove legs from tables, take apart bed frames, and separate cushions from frames. Wrap wooden surfaces in moving blankets or furniture pads to prevent scratches. Stand mattresses on edge (not flat) to prevent permanent compression, and cover with mattress bags.
Position large furniture pieces along walls and in back corners. Use the space inside dressers and armoires for smaller items like linens or seasonal clothing. This "nested storage" approach maximizes every cubic foot.
Clothing and Textiles
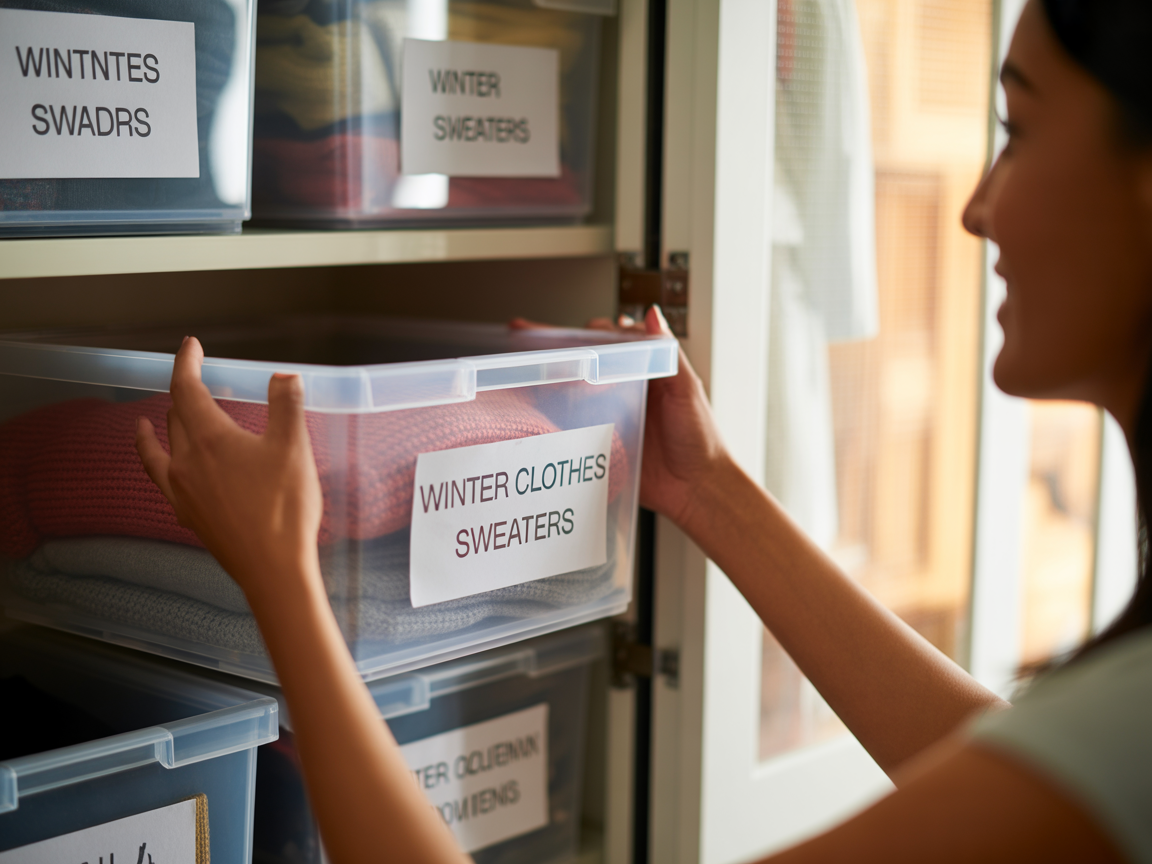
Store clothing in vacuum-sealed bags to reduce volume by 50-75% and protect against moisture and pests. Place cedar blocks or lavender sachets (not mothballs, which leave lasting odors) in containers with natural fibers. Avoid plastic dry-cleaning bags for long-term storage as they trap moisture.
Hang formal wear and structured garments on a portable clothing rack rather than folding. This prevents permanent creases in suits, dresses, and coats. Cover the rack with a breathable garment bag.
Electronics and Appliances
Store electronics in original packaging when available, as these boxes are designed for protection and stacking. Without original boxes, wrap items in anti-static bubble wrap and place in appropriately sized containers with padding. Remove batteries from all devices to prevent corrosion and leakage.
For appliances, clean and dry thoroughly before storage. Prop refrigerator and freezer doors slightly open to prevent mold growth. Wrap cords and secure them to the appliance body to prevent tangling and damage.
Documents and Photos
Paper items require protection from humidity, temperature fluctuations, and pests. Use weathertight containers with silica gel packets to control moisture. Store photos flat (never rolled) in acid-free boxes. For irreplaceable documents, consider digitizing before storage as backup.
Position document containers on upper shelves where temperature and humidity remain most stable. Never store paper items directly on concrete floors, where moisture can wick upward.
Common Organization Mistakes to Avoid
Overpacking Containers
Containers packed beyond their weight rating collapse when stacked, damaging contents and creating unstable towers. Limit boxes to 30-40 pounds maximum, even if space remains. Heavy items (books, tools, canned goods) should go in smaller containers.
Blocking Access
Filling every inch of floor space creates retrieval nightmares. That holiday decoration box buried behind furniture and 15 other containers will require 45 minutes of rearrangement to access. Maintain your center aisle and zone system religiously.
Ignoring Environmental Factors
Standard storage units experience temperature swings from below freezing to over 100 degrees Fahrenheit depending on location and season. Items sensitive to temperature extremes (vinyl records, wooden instruments, wine, candles, photographs) require climate-controlled storage or should not be stored long-term.
Storing Prohibited Items
Most storage facilities prohibit flammable materials, perishable food, hazardous chemicals, and living things (including plants). Storing prohibited items violates your rental agreement and creates safety hazards. Review your facility's policies before storing anything questionable.
Budget-Friendly Professional Organization
Professional-level organization does not require professional-level budgets. Discount retailers offer clear compartment organizers for $5-8, collapsible storage cubes for $6-10, and basic shelving units for $30-50. These affordable tools replicate the systems professional organizers use.
Essential Tools Under $100
- Freestanding shelving unit (5-shelf): $40-60
- Clear storage totes, set of 6: $30-45
- Label maker with extra tape: $15-25
- Moving dolly (rental or purchase): $15-30
- Furniture blankets, pack of 4: $15-20
Total investment: $115-180 for a complete professional organization system. This one-time cost pays dividends through easier access, better item protection, and potentially reduced unit size requirements.
Frequently Asked Questions
What size storage unit do I need for a 2-bedroom apartment?
A 2-bedroom apartment typically requires a 10x10 storage unit (100 square feet), which accommodates furniture from two bedrooms, a living room, and miscellaneous boxes. If storing only partial contents or seasonal items, a 5x10 unit (50 square feet) may suffice. Use a storage unit size guide to calculate your specific needs based on furniture inventory.
How do I protect furniture and clothes in a storage unit?
Protect furniture with moving blankets, furniture pads, or plastic wrap for upholstered pieces. Elevate items on pallets or shelving to prevent moisture contact with concrete floors. Store clothing in vacuum-sealed bags or weathertight containers with cedar blocks. For valuable or antique furniture, consider climate-controlled storage to prevent warping, cracking, and mold.
What are the best shelving and labeling products under $100?
The Whitmor Supreme shelving system ($45-55) offers 350-pound capacity per shelf and easy assembly. For labeling, the Brother P-Touch label maker ($25-35) creates durable, legible labels. Clear Sterilite totes with latching lids ($8-12 each) provide visibility and stackability. This combination creates a professional system for under $100.
How often should I reorganize my storage unit?
Professional organizers recommend quarterly reviews (every 3 months) lasting 15-30 minutes. During these visits, verify organization systems function properly, remove items no longer needed, update inventory records, and check for environmental issues like moisture or pests. Annual deep reorganization (2-3 hours) addresses accumulated inefficiencies.
Can I organize a storage unit for business inventory efficiently?
Business inventory requires enhanced organization systems: implement SKU-based labeling, maintain digital inventory with quantities and locations, use consistent container sizes for stacking efficiency, and create receiving and shipping zones near the unit entrance. Consider shelving with adjustable heights to accommodate varying product sizes. Quarterly inventory audits prevent discrepancies.
Start Your Professional Organization System Today
Professional storage organization transforms chaotic units into efficient, accessible spaces. The seven-step system (declutter, inventory, containerize, shelve, label, zone, maintain) requires initial time investment but saves countless hours of searching and frustration. Most renters complete initial organization in 4-6 hours and maintain it with quarterly 30-minute reviews.
Whether you are storing seasonal items, transitioning between homes, or managing business inventory, these professional strategies maximize your storage investment. The combination of proper containers, vertical shelving, clear labeling, and zone-based organization ensures you can locate and retrieve any item within minutes rather than hours.
|