How to Winterize Motorcycles and ATVs for Storage |
| STORING MOTORCYCLES AND ATVS: COMPLETE WINTERIZATION GUIDE
⏱ 15 min read ·
📄 #2,834 words
Complete winterization guide for motorcycles and ATVs. Learn fuel stabilization, battery care, tire protection, and proper storage to prevent costly damage.
|
W interizing motorcycles and ATVs requires seven essential steps: thorough cleaning, fuel system treatment with stabilizer, battery removal and maintenance charging, tire inflation to 40-50 PSI with elevation off the ground, fluid inspection and top-off, lubrication of all moving parts, and storage under a breathable cover in a dry location. This process takes 2-4 hours and prevents 70-80% of storage-related repairs that typically cost $200-500 to fix.
| Key Points: | |
|---|---|
| • | Add fuel stabilizer to a full tank and run the engine for 5-10 minutes to prevent gummed carburetors and varnish buildup |
| • | Batteries lose 1-3% charge monthly in storage; use a trickle charger to prevent sulfation and 50% capacity loss |
| • | Inflate tires to upper recommended PSI (40-50) and elevate on stands to prevent flat spots costing $200+ to replace |
| • | Store in dry, ventilated space at 40-70 degrees F with breathable cover; avoid plastic tarps that trap moisture |
| • | ATVs require heavier-duty stands and complete fuel drainage for storage exceeding 3 months |
Why Proper Winterization Matters
Skipping winterization leads to predictable failures. Flat spots on tires and suspension seals account for 60% of spring repair issues. Untreated fuel gums up carburetors within 30-60 days, requiring $150-300 in cleaning or rebuild costs. Batteries left connected drain completely within 2-3 months, causing permanent sulfation damage.
In Estes Park's mountain climate, temperature swings between 10 and 50 degrees F during winter months accelerate these problems. Condensation forms inside fuel tanks, coolant can freeze if not properly mixed, and exposed metal corrodes faster in fluctuating humidity. Proper preparation protects your investment and ensures reliable spring startup.
Step 1: Deep Cleaning and Inspection
Start with a thorough wash using motorcycle-specific cleaner or mild dish soap. Focus on the undercarriage, chain, sprockets, suspension linkages, and wheel wells where mud and debris accumulate. For ATVs, pay extra attention to cargo racks, winch assemblies, and skid plates that trap moisture against metal surfaces.
Allow 24 hours for complete drying before applying any protectants. Trapped moisture under wax or covers accelerates corrosion rather than preventing it. Use compressed air to clear water from electrical connections, brake calipers, and pivot points.
Inspection Checklist
While cleaning, inspect these components for wear or damage requiring attention before storage:
- Brake pads: Replace if less than 2mm thickness remains
- Chain tension: Should have 1-1.5 inches of slack at midpoint
- Tire condition: Check for cracks, bulges, or tread below 2/32 inch
- Cables: Look for fraying, kinks, or sticky operation
- Bolts and fasteners: Tighten any loose hardware
- Coolant level: Verify freeze protection to minus 30 degrees F
Addressing issues now prevents discovering problems when you want to ride in spring. Document any repairs needed with photos for reference.
Step 2: Fuel System Treatment
Gasoline begins degrading within 30 days. After 60-90 days, untreated fuel forms varnish deposits that clog carburetors, fuel injectors, and fuel lines. The repair bill for a gummed carburetor runs $150-300 for motorcycles and $200-400 for ATVs with multiple carbs.
For Carbureted Engines
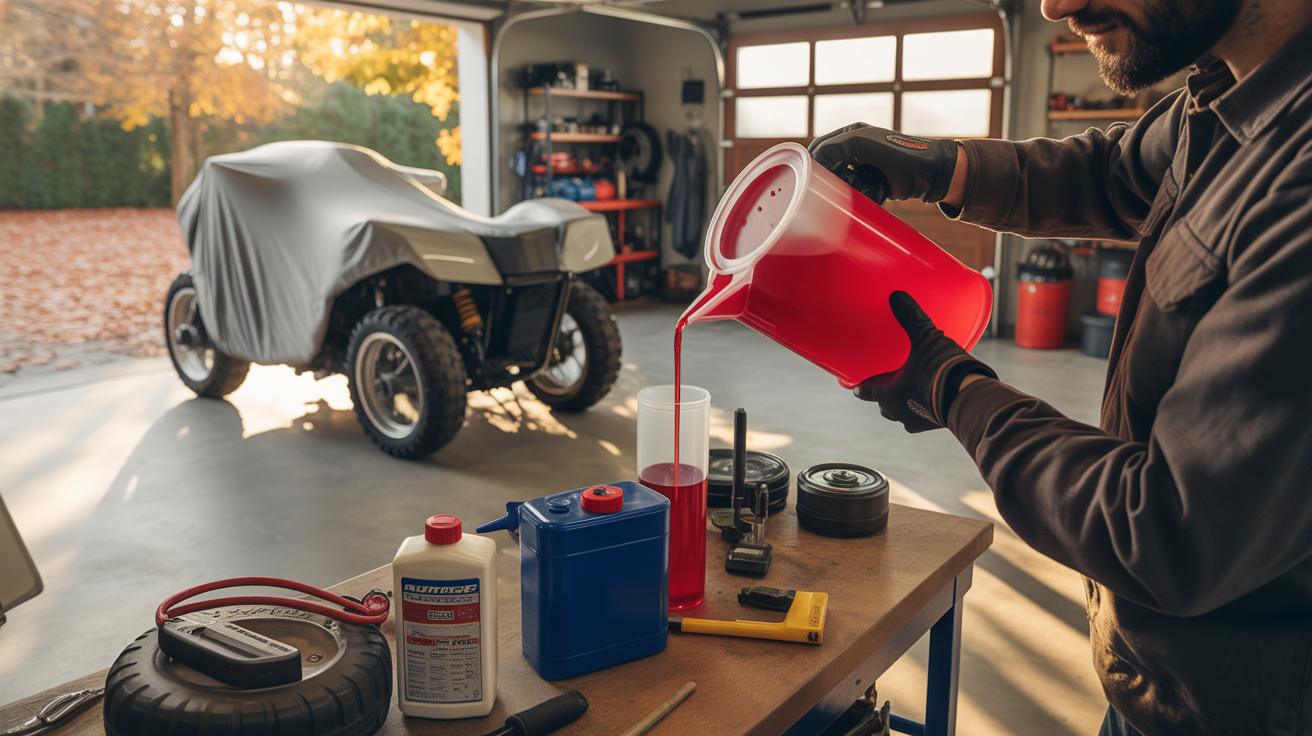
Fill the tank completely to minimize air space where condensation forms. Add fuel stabilizer according to product directions, typically 1 ounce per 2.5 gallons. Run the engine for 10-15 minutes to circulate treated fuel through the entire system including the carburetor float bowl.
For storage exceeding 3 months, drain the carburetor float bowl after running stabilized fuel through the system. Locate the drain screw at the bottom of the carburetor bowl and release fuel into a container. This removes the small fuel volume most likely to gum up.
For Fuel-Injected Engines
Fuel injection systems are more tolerant but still require stabilizer treatment. Fill the tank, add stabilizer, and run the engine for 5-10 minutes. The pressurized system has fewer evaporation points than carburetors, but varnish can still form in injectors over 4-6 months.
ATV-Specific Considerations
ATVs often have larger fuel tanks holding 3-5 gallons. For storage exceeding 4 months, consider draining the tank entirely rather than treating such a large fuel volume. Use a siphon pump to remove fuel, then run the engine until it stalls to clear lines and carburetor.
| Storage Duration | Recommended Fuel Treatment |
|---|---|
| 1-3 months | Full tank with stabilizer |
| 3-6 months | Stabilizer plus carburetor drain |
| 6+ months | Complete fuel system drain |
Step 3: Battery Removal and Maintenance
Batteries are the most common winterization failure point. A fully charged 12-volt battery reads 12.6-12.8 volts. Without maintenance charging, batteries lose 1-3% capacity monthly. After 3-4 months, voltage drops below 12.0 volts, causing sulfation that permanently reduces capacity by up to 50%.
Removal Process
Disconnect the negative (black) terminal first, then the positive (red) terminal. This sequence prevents accidental shorts if your wrench contacts the frame. Remove the battery and clean terminals with a wire brush and baking soda solution to neutralize acid residue.
Store the battery in a cool, dry location at 40-60 degrees F. Avoid concrete floors in unheated garages, as temperature fluctuations accelerate discharge. Place the battery on a wooden shelf or rubber mat.
Maintenance Charging Options
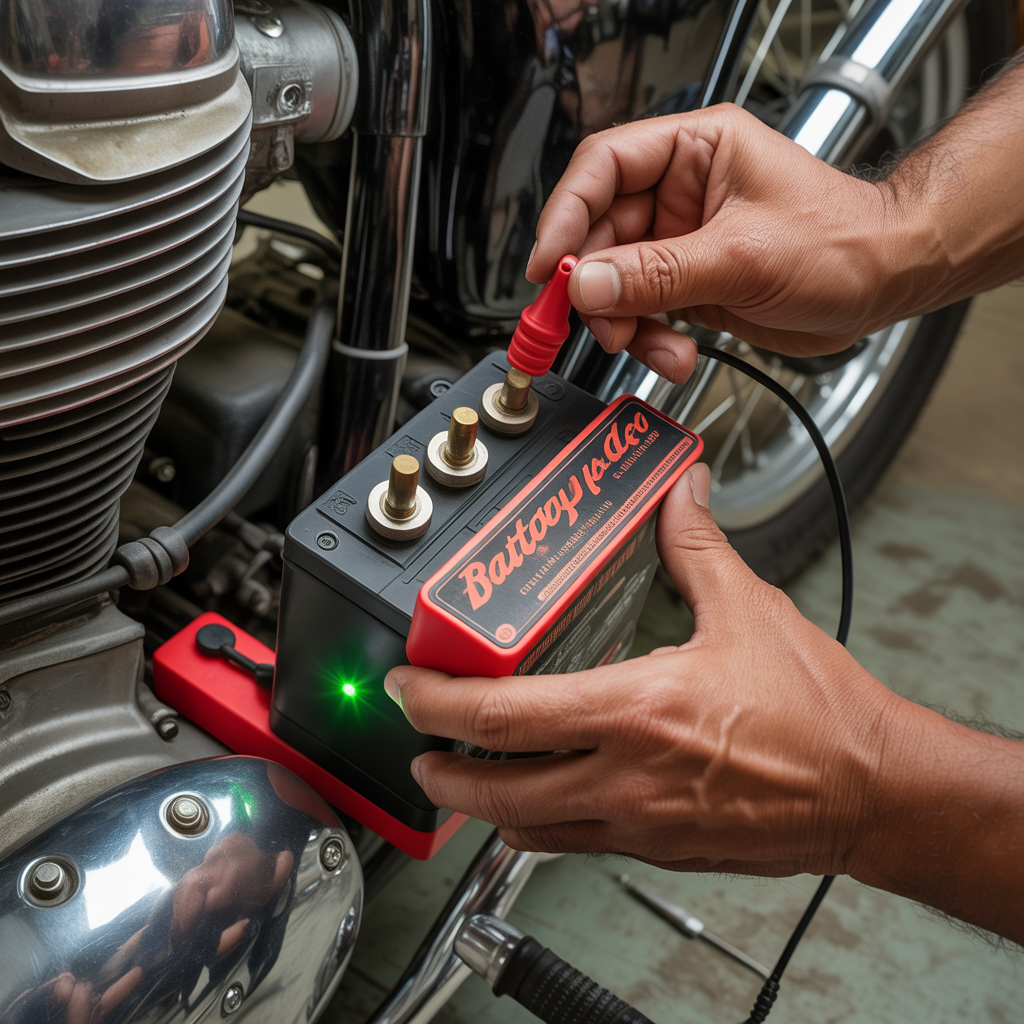
Connect a battery tender or smart charger rated for your battery type (lead-acid, AGM, or lithium). Quality tenders cost $25-50 and automatically maintain optimal charge without overcharging. Check battery voltage monthly; readings below 12.4 volts indicate the tender may be malfunctioning.
For lithium batteries common in performance motorcycles, use only lithium-compatible chargers. Standard lead-acid chargers can damage lithium cells. Store lithium batteries at 50-70% charge rather than full charge for optimal longevity.
Step 4: Tire and Suspension Protection
Tires develop flat spots when parked in one position for extended periods. The weight of the vehicle compresses the contact patch, and cold temperatures make rubber less flexible. Flat spots may be temporary or permanent depending on severity, with replacement tires costing $150-300 each.
Inflation and Elevation
Inflate tires to the upper limit of the manufacturer's recommended range, typically 40-50 PSI for motorcycles and 8-12 PSI for ATVs. Higher pressure reduces the contact patch size and minimizes deformation.
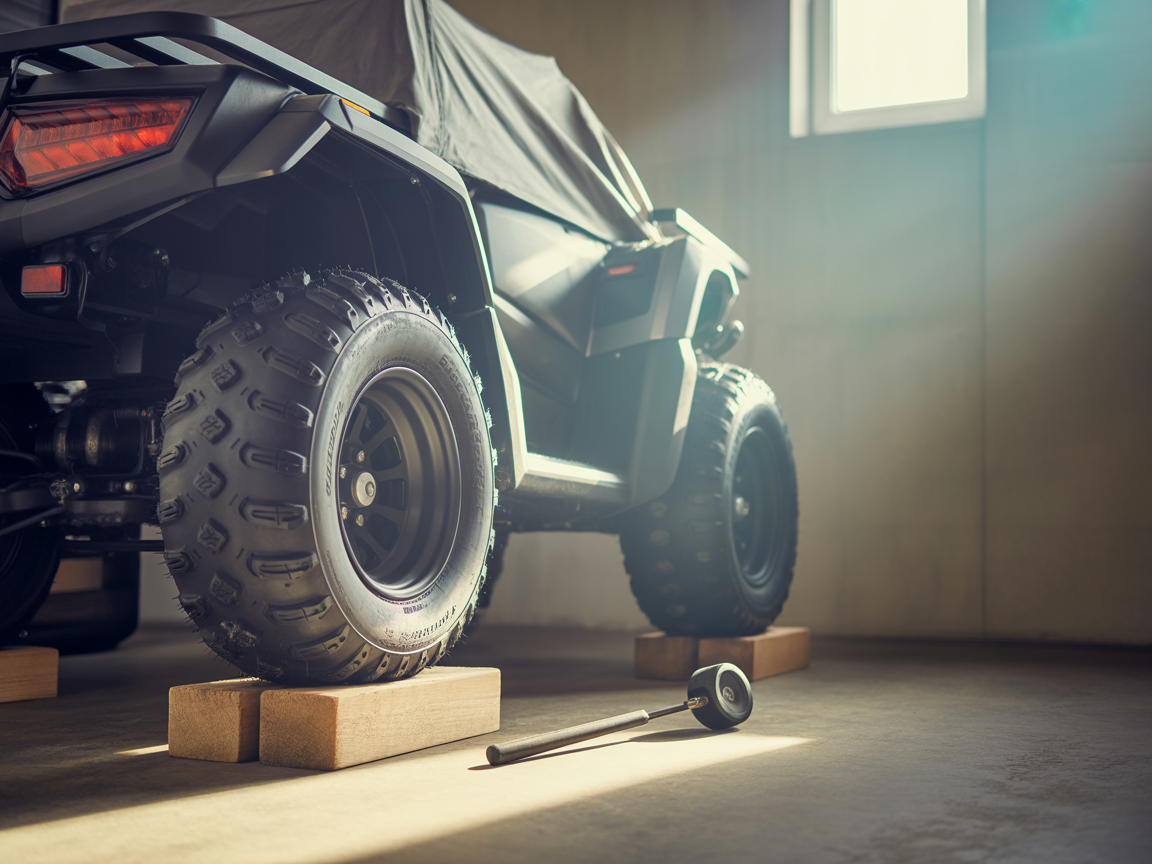
Elevate the vehicle on paddock stands, center stands, or jack stands to remove weight from the tires entirely. For motorcycles, a front and rear stand combination costs $60-150 and provides the best protection. ATVs require heavier-duty jack stands rated for 1,500+ pounds positioned under the frame.
If elevation is not possible, place plywood or carpet squares under the tires to insulate from cold concrete. Rotate the tires 90 degrees every 2-4 weeks to redistribute stress points.
Suspension Seal Protection
Fork seals and shock seals can develop flat spots similar to tires. When compressed in one position for months, seals lose their round shape and begin leaking when the suspension cycles again. Fork seal replacement costs $100-200 in parts plus 2-3 hours of labor.
Apply silicone spray or fork oil to the exposed portion of fork stanchions and shock shafts. This keeps seals lubricated and prevents them from drying out. If using stands, position them to allow the suspension to rest at mid-travel rather than fully compressed or extended.
Step 5: Fluid Inspection and Maintenance
Winter storage is the ideal time to change oil and inspect all fluids. Contaminated oil contains acids and moisture that corrode internal engine components over months of sitting.
Engine Oil
Change oil and filter before storage, not after. Used oil contains combustion byproducts and moisture that attack bearing surfaces during extended storage. Fresh oil provides a protective film on all internal components. Run the engine briefly after the oil change to circulate fresh oil throughout.
Coolant
Test coolant freeze protection with a hydrometer or refractometer. Coolant should protect to at least minus 30 degrees F for Colorado winters. If protection is inadequate, flush and replace with a 50/50 mix of antifreeze and distilled water. Never use tap water, as minerals cause internal corrosion.
Brake Fluid
Brake fluid absorbs moisture from the air through microscopic pores in rubber lines. Moisture-contaminated fluid has a lower boiling point and causes internal corrosion in calipers and master cylinders. If fluid appears dark or has not been changed in 2 years, flush and replace with fresh DOT 4 fluid.
Final Drive and Transmission
Check gear oil levels in shaft-drive final drives and transmissions. Top off as needed with manufacturer-specified fluid. For chain-drive motorcycles, lubricate the chain thoroughly after cleaning to prevent rust during storage.
Step 6: Lubrication and Corrosion Protection
Metal surfaces exposed to air oxidize over time, especially in fluctuating humidity. A comprehensive lubrication routine takes 30-45 minutes and prevents seized cables, sticky throttles, and corroded pivot points.
Cable and Control Lubrication
Apply cable lubricant to throttle cables, clutch cables, and brake cables using a cable luber tool. Work the controls through their full range of motion to distribute lubricant. Lubricate lever pivots, footpeg pivots, and kickstand pivots with light machine oil.
Chain Maintenance
Clean the chain with kerosene or chain cleaner, then apply fresh chain lubricant. Modern O-ring and X-ring chains require specific lubricants that do not degrade the seals. Avoid WD-40 or general-purpose lubricants that can damage chain seals.
Exterior Protection
Apply automotive wax to painted surfaces and chrome. Spray exposed metal surfaces, electrical connections, and fasteners with corrosion inhibitor or light oil. Pay special attention to exhaust pipes, which rust quickly when protective coatings wear thin.
For ATVs, apply grease to all zerk fittings on suspension components, steering linkages, and wheel bearings. These components see more contamination than motorcycle equivalents and benefit from fresh grease before storage.
Step 7: Proper Storage Environment
Where you store your motorcycle or ATV matters as much as how you prepare it. The ideal storage environment maintains consistent temperature and humidity while protecting from dust, pests, and accidental damage.
Indoor Storage Requirements
Store in a dry, ventilated space away from windows where temperature swings are minimized. Ideal temperature range is 40-70 degrees F with relative humidity below 50%. Avoid storing near furnaces, water heaters, or other appliances that produce heat or moisture.
Elevate the vehicle off concrete floors using pallets, plywood, or carpet. Concrete wicks moisture from the ground, creating a humid microclimate around tires and lower components. Even in heated garages, floor-level humidity exceeds ambient levels.
Cover Selection
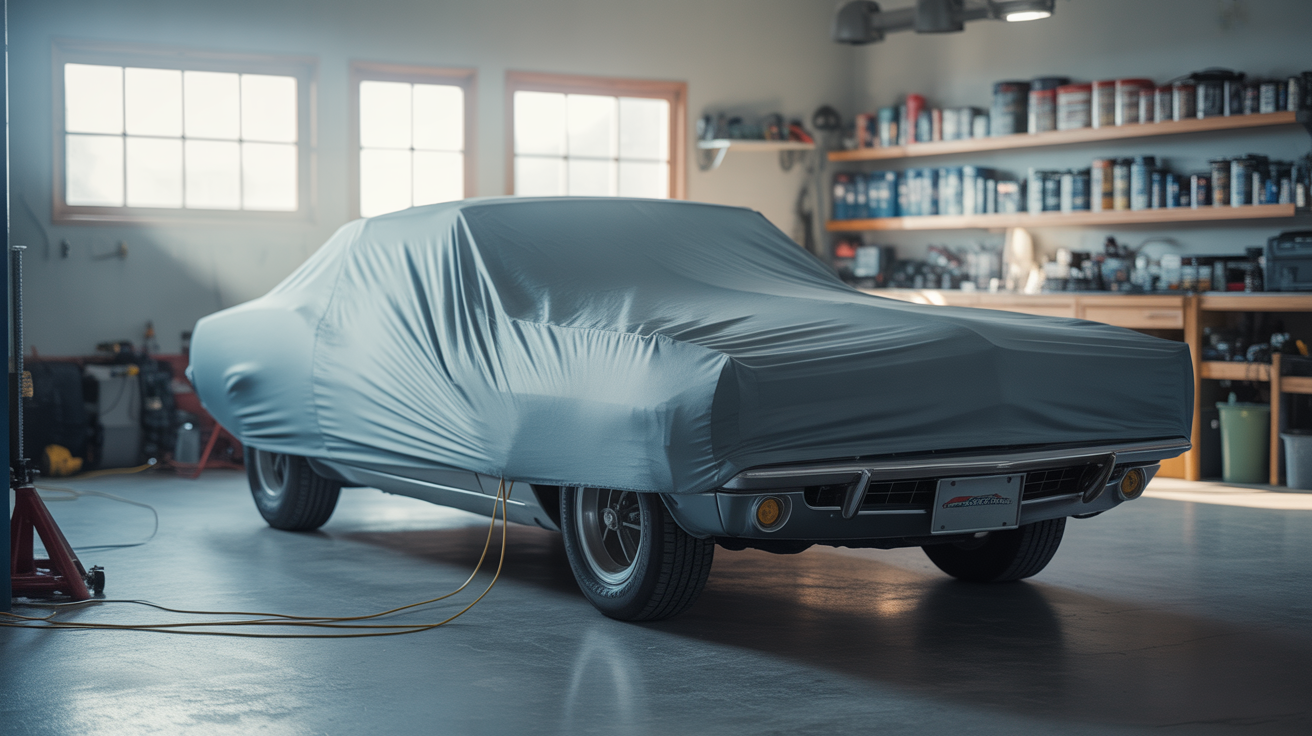
Use a breathable, fitted cover designed for motorcycles or ATVs. Breathable fabric allows moisture to escape while blocking dust and debris. Avoid plastic tarps or non-breathable covers that trap condensation against surfaces, accelerating corrosion.
Quality covers cost $40-100 and feature soft inner linings that protect paint from scratches. Ensure the cover fits snugly without touching hot exhaust components if you cover the vehicle immediately after running.
Outdoor Storage Considerations
If indoor storage is unavailable, outdoor storage under a carport or covered parking area is the next best option. Use a waterproof, breathable cover and elevate tires off the ground. Check the vehicle weekly for moisture intrusion, pest activity, or cover damage.
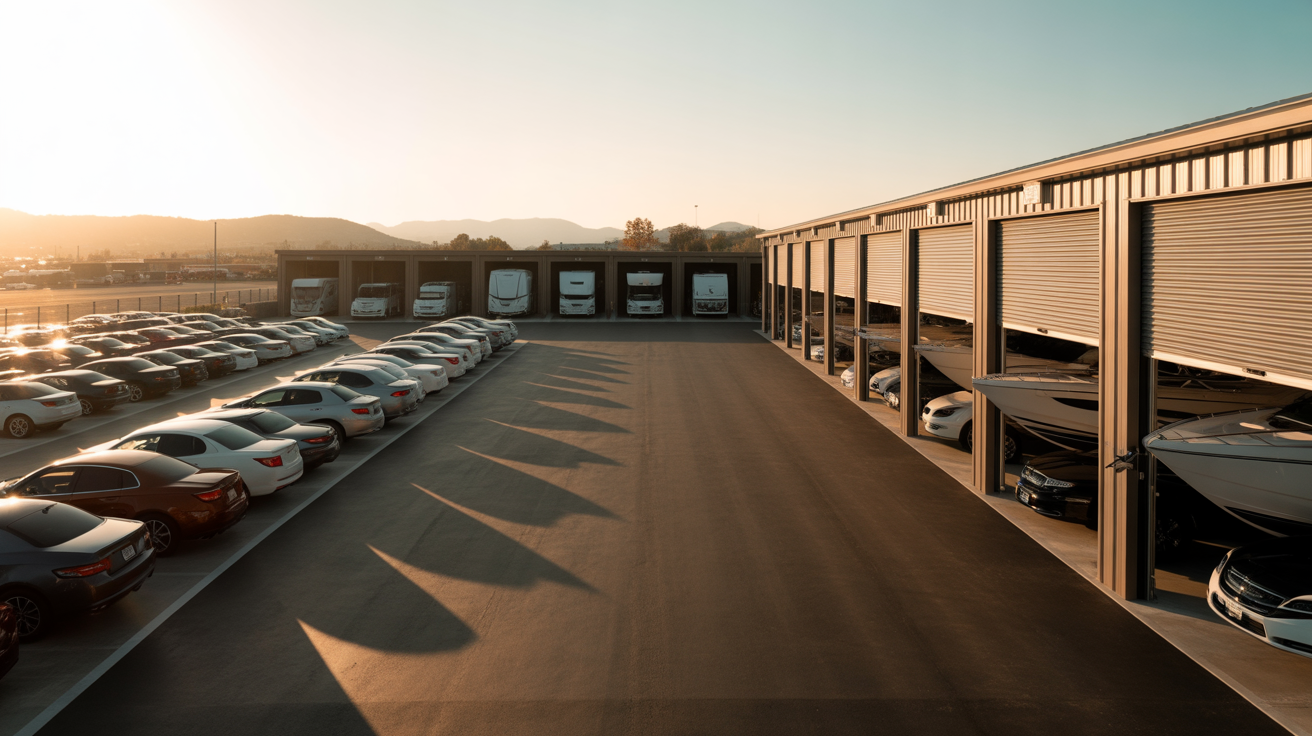
For secure outdoor storage, consider a dedicated parking space at a storage facility with gated access and security monitoring. This protects against theft and vandalism while providing a designated spot away from home clutter.
Motorcycle vs. ATV Winterization Differences
While the core winterization steps apply to both vehicle types, ATVs require additional considerations due to their size, weight, and typical use patterns.
| Component | Motorcycle | ATV |
|---|---|---|
| Fuel tank size | 2-6 gallons | 3-8 gallons |
| Fuel treatment | Stabilize full tank | Drain for 3+ month storage |
| Elevation method | Paddock stands ($60-150) | Heavy-duty jack stands ($80-200) |
| Storage footprint | 3x8 feet | 4x7 feet minimum |
| Additional grease points | Minimal | 10-20 zerk fittings |
| Typical cleaning time | 30-45 minutes | 60-90 minutes |
Electric Motorcycle Winterization
Electric motorcycles like Zero and Energica models skip fuel system concerns but require specific battery and electronics care. Lithium battery packs are sensitive to extreme temperatures and deep discharge cycles.
Battery Pack Storage
Charge the main battery pack to 50-70% before storage, not 100%. Lithium cells degrade faster when stored at full charge. If possible, store in a location that maintains 50-70 degrees F, as temperatures below 32 degrees F can permanently damage lithium cells.
Check battery state of charge monthly. Most electric motorcycles have a storage mode that maintains optimal charge levels. Consult your owner's manual for model-specific recommendations.
12V Auxiliary Battery
Electric motorcycles still have a 12V battery for lights, controls, and the computer system. Remove and maintain this battery on a tender just like a gas-powered motorcycle. A dead 12V battery prevents the bike from powering on even with a full main pack.
Coolant and Seals
Many electric motorcycles use liquid cooling for the motor and controller. Verify coolant freeze protection and top off as needed. All other winterization steps for tires, suspension, and lubrication apply equally to electric models.
Monthly Storage Checks
Winterization is not a set-and-forget process. Monthly checks catch developing problems before they cause permanent damage.
- Battery voltage: Should read 12.4V or higher; recharge if lower
- Tire pressure: Add air if dropped more than 5 PSI
- Moisture and condensation: Check under cover for dampness
- Pest activity: Look for rodent droppings, nesting material, or chewed wires
- Cover condition: Repair or replace if torn or waterlogged
- Fluid leaks: Check floor under vehicle for oil, coolant, or fuel spots
If storing at a facility with 24/7 access and security features, schedule monthly visits to perform these checks. The convenience of drive-up access makes quick inspections practical even in winter weather.
Spring De-Winterization Checklist
When temperatures consistently exceed 50 degrees F, reverse the winterization process to prepare for riding season.
- Reinstall battery: Connect positive terminal first, then negative
- Check all fluid levels: Top off coolant, brake fluid, and oil if needed
- Inspect tires: Check for flat spots, cracks, and proper inflation
- Test brakes: Pump lever/pedal several times before riding; check for spongy feel
- Lubricate chain: Apply fresh lubricant even if lubed before storage
- Start engine: Allow 5-10 minutes of warm-up; check for leaks and unusual sounds
- Test ride: Start with low-speed neighborhood riding to verify all systems
If the engine cranks but will not start, check for fuel delivery issues. Carbureted bikes may need carburetor cleaning despite stabilizer treatment. Fuel-injected bikes may have a clogged fuel filter or weak fuel pump.
Storage Space Planning
A standard motorcycle requires a 3x8 foot space minimum, while ATVs need 4x7 feet or larger depending on the model. When planning storage, account for access space to perform monthly checks and spring preparation.
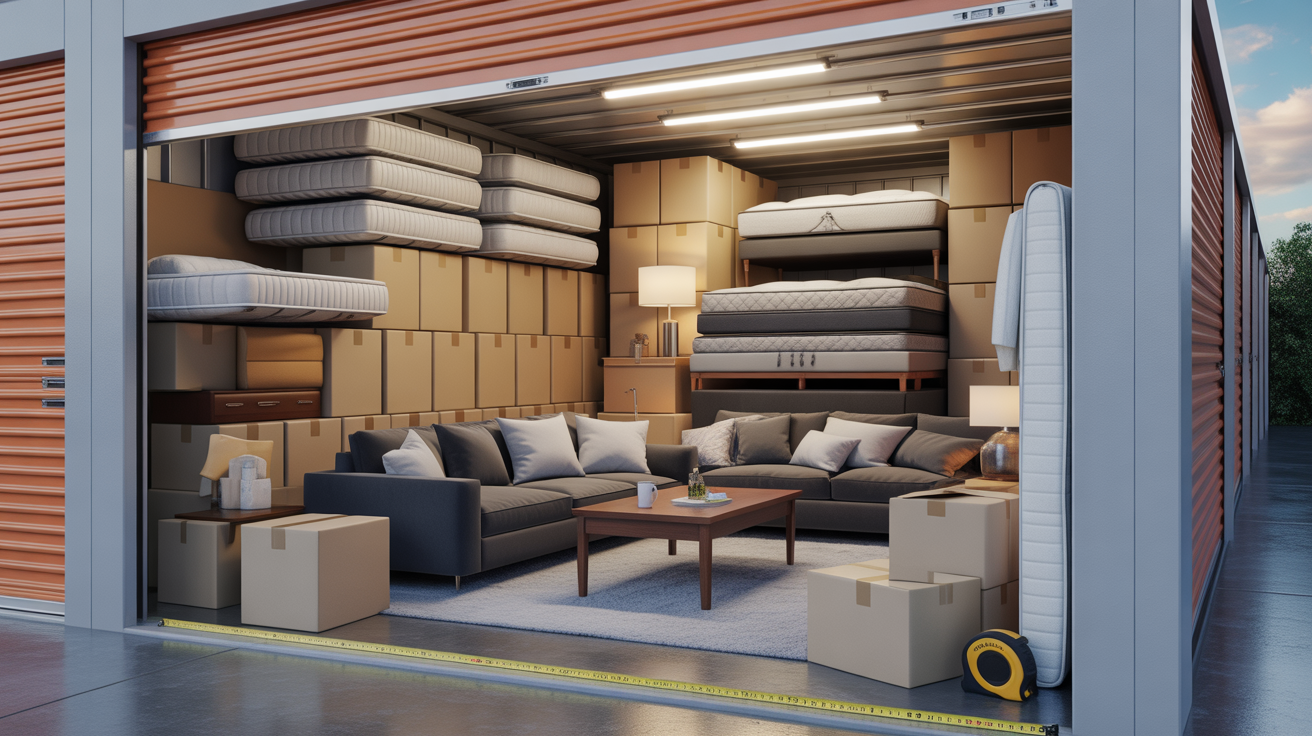
For those without adequate garage space, a 10x10 storage unit accommodates one motorcycle plus gear, or a single ATV. A 10x20 unit fits multiple vehicles or one ATV plus a trailer. Open parking spaces work well for vehicles under breathable covers when indoor storage is unavailable.
Consider storage location convenience when choosing a facility. Monthly checks require 15-30 minutes; a facility with easy access makes this maintenance practical rather than burdensome.
Frequently Asked Questions
How do I properly store a motorcycle for winter?
Clean the motorcycle thoroughly, add fuel stabilizer to a full tank and run the engine for 10 minutes, remove the battery and connect to a tender, inflate tires to 40-50 PSI and elevate on stands, change oil and check all fluids, lubricate cables and chain, and cover with a breathable cover in a dry location. The complete process takes 2-4 hours.
Is it better to store a motorcycle with a full or empty tank?
Store with a full tank plus fuel stabilizer for storage up to 3 months. A full tank minimizes air space where condensation forms. For storage exceeding 3-6 months, drain the tank completely to prevent varnish formation. Carbureted bikes should have float bowls drained regardless of tank status.
Where can I store a motorcycle in winter without a garage?
Options include covered carports, storage units, or dedicated vehicle parking spaces at storage facilities. Use a waterproof, breathable cover and elevate tires off the ground. A 5x10 or 10x10 storage unit provides indoor protection. Open parking spaces with security monitoring offer a budget-friendly alternative to enclosed storage.
How do I store an ATV for the winter?
Follow the same basic steps as motorcycles with these adjustments: drain fuel completely for storage over 3 months due to larger tank volume, use heavy-duty jack stands rated for 1,500+ pounds, grease all zerk fittings on suspension and steering components, and allow extra cleaning time for undercarriage and skid plates. ATVs typically require 60-90 minutes longer for complete winterization.
How often should I check on a stored motorcycle or ATV?
Perform monthly checks on battery voltage, tire pressure, moisture accumulation, and pest activity. Each check takes 15-30 minutes. More frequent checks are advisable if storing in unheated or outdoor locations where temperature and humidity fluctuate significantly.
What if I cannot elevate my motorcycle on stands?
If stands are not available, inflate tires to maximum recommended pressure and place plywood, carpet squares, or rubber mats under the tires to insulate from cold concrete. Move the motorcycle every 2-4 weeks to rotate the tire contact patch. This is not as effective as elevation but reduces flat spot risk significantly.
|