Winter Storage Preparation: Protect Items from Cold Damage |
| WINTER STORAGE PREPARATION: PROTECTING BELONGINGS FROM COLD DAMAGE
⏱ 14 min read ·
📄 #2,784 words
Learn how to protect belongings from cold damage in storage. Complete guide covers moisture control, temperature tips, and item-specific preparation steps.
|
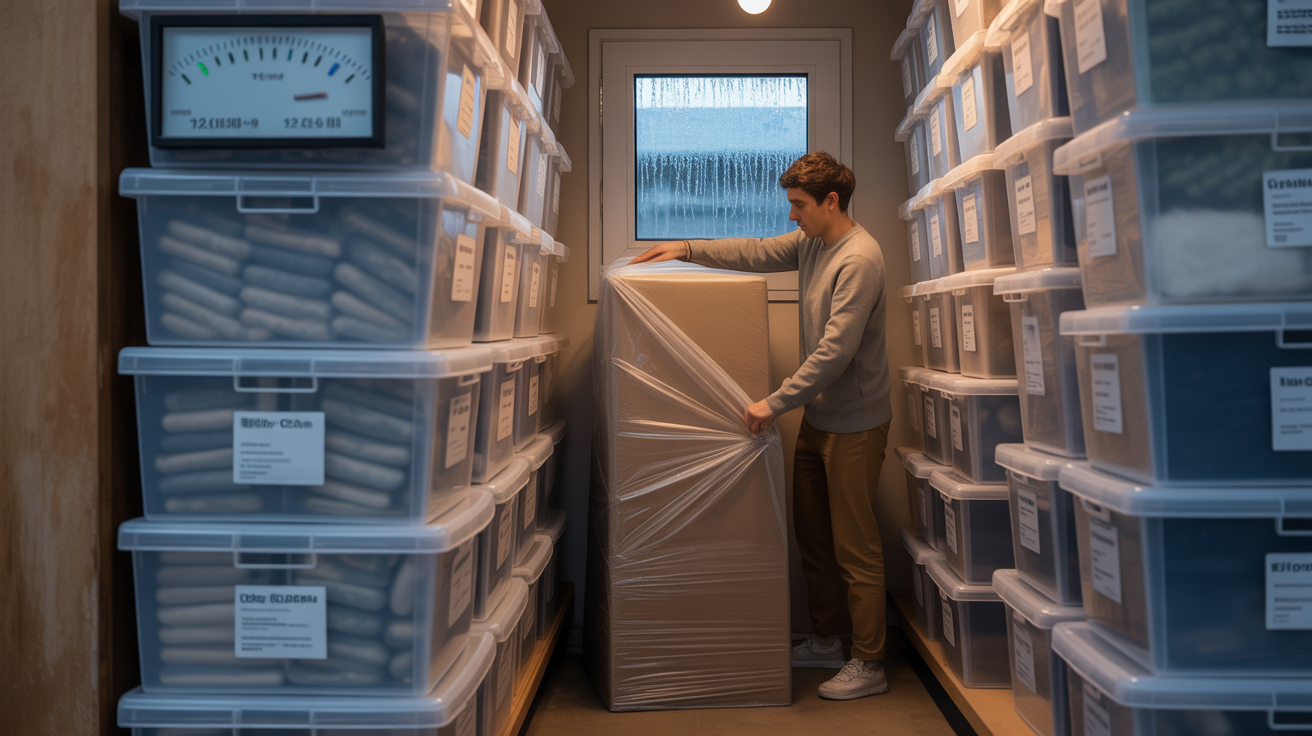
P rotecting stored items from winter damage requires three core actions: eliminating moisture before storage, using airtight containers instead of cardboard, and elevating everything off the ground. Items stored without these precautions face cracking, warping, mold growth, and corrosion when temperatures drop below 32°F or humidity exceeds 50%.
| Key Points: | |
|---|---|
| • | Clean and completely dry all items before storage; residual moisture causes 60% of winter storage damage |
| • | Use plastic airtight containers rather than cardboard, which absorbs moisture and collapses in cold conditions |
| • | Elevate items 4 to 6 inches off the ground using pallets or shelving to prevent water damage and improve airflow |
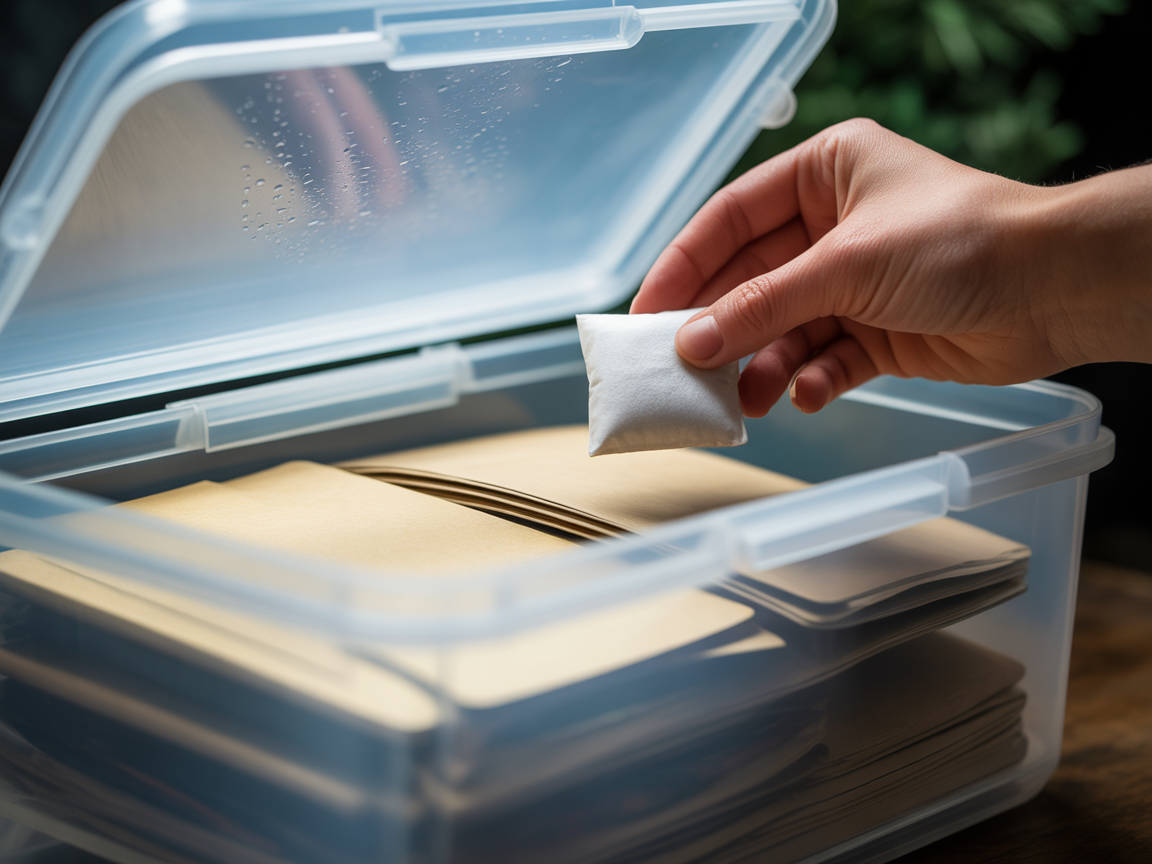
| • | Place silica gel packets (1 packet per cubic foot) inside containers to absorb excess humidity |
| • | Check stored items every 4 to 6 weeks during winter months to catch problems early |
Understanding Cold Weather Storage Risks in Estes Park
Estes Park experiences winter temperatures ranging from 15°F to 35°F between November and March, with humidity levels fluctuating between 30% and 70%. These conditions create specific challenges for stored belongings that differ from milder climates.
The primary threats include condensation forming inside storage units during temperature swings, freezing damage to liquid-containing items, and material brittleness in plastics and rubber. Wood furniture can crack when moisture inside the grain freezes and expands, while metal items develop rust when condensation settles on surfaces.
Mountain storage environments also face unique pressure changes that can affect sealed containers and packaging. Understanding these local conditions helps you take appropriate protective measures for your specific belongings.
The 4 P's of Winter Storage Safety
Winter storage preparation follows four essential principles that apply to all item types and storage situations.
Prepare: Clean and Inspect Everything
Wash all items thoroughly and allow 24 to 48 hours of drying time before placing them in storage. Inspect each piece for existing damage, mold spots, or pest evidence. Repair minor issues now; small cracks or loose joints worsen significantly in freezing temperatures.
Document the condition of valuable items with photographs before storage. This creates a reference point for insurance purposes and helps you identify any changes during periodic checks.
Protect: Choose Appropriate Coverings
Use breathable materials like cotton sheets, moving blankets, or furniture pads rather than plastic wrap or vinyl covers. Plastic traps moisture against surfaces, creating ideal conditions for mold growth and finish damage. Breathable covers allow air circulation while preventing dust accumulation and minor scratches.
For items requiring extra insulation, layer wool blankets between pieces. Wool naturally wicks moisture away and provides thermal protection without creating condensation problems.
Position: Elevate and Organize Strategically
Never place items directly on concrete or ground surfaces. Use wooden pallets, plastic shelving, or cinder blocks to create 4 to 6 inches of clearance. This gap prevents moisture wicking from cold floors and allows air circulation beneath stored goods.
Position frequently accessed items near the front of your unit. Leave 2 to 3 inch gaps between stacked containers for airflow. Avoid pushing items against exterior walls, which tend to be colder and more prone to condensation.
Preserve: Maintain Proper Conditions
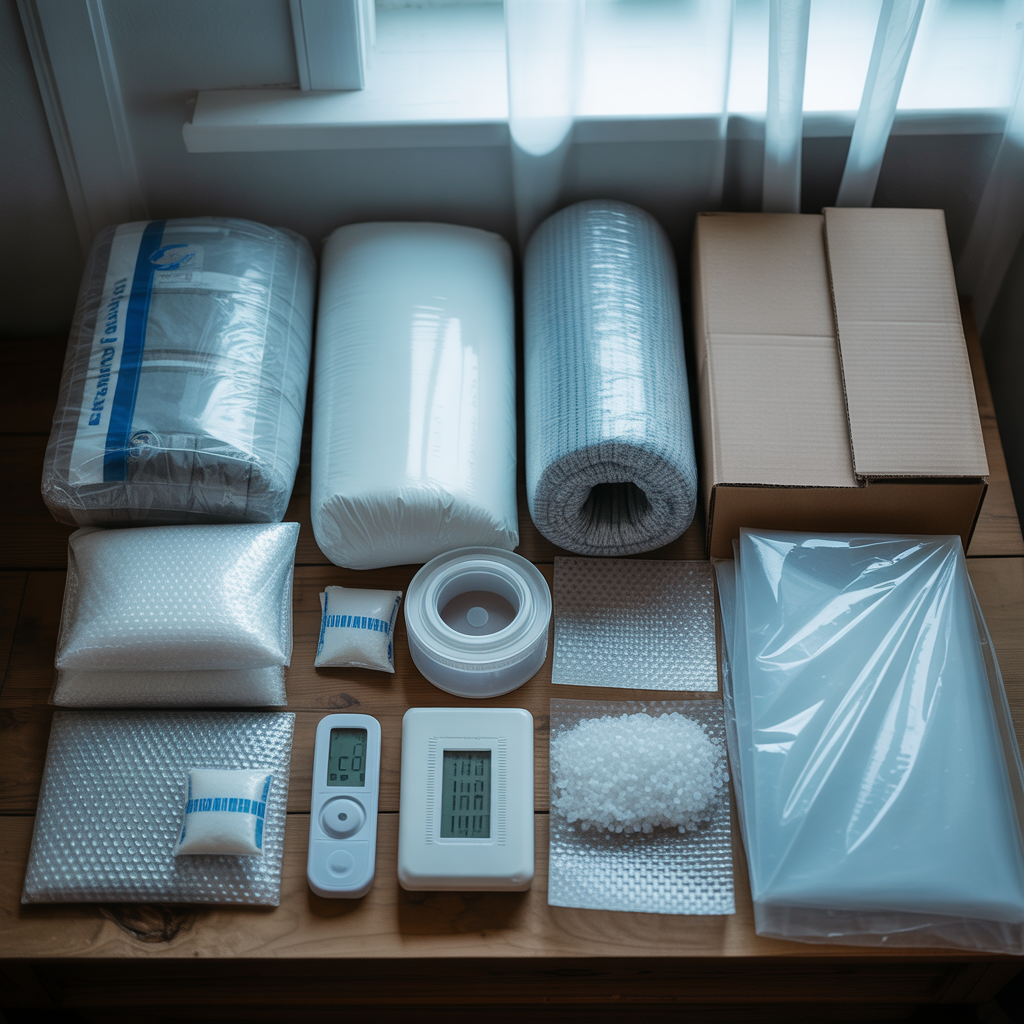
Place moisture absorbers throughout your storage space. Silica gel packets, calcium chloride containers, or commercial desiccant products all work effectively. Replace or recharge these products every 4 to 6 weeks during winter months when humidity fluctuates most dramatically.
Item-Specific Winter Storage Guidelines
Different materials require tailored approaches to survive winter storage without damage. Following category-specific guidelines prevents the most common cold weather problems.
Wood Furniture Protection
Wood expands and contracts with temperature and humidity changes, making it particularly vulnerable during winter. Apply furniture polish or wax to all surfaces before storage, creating a moisture barrier that slows absorption. Remove drawers and doors from large pieces to prevent warping and allow interior air circulation.
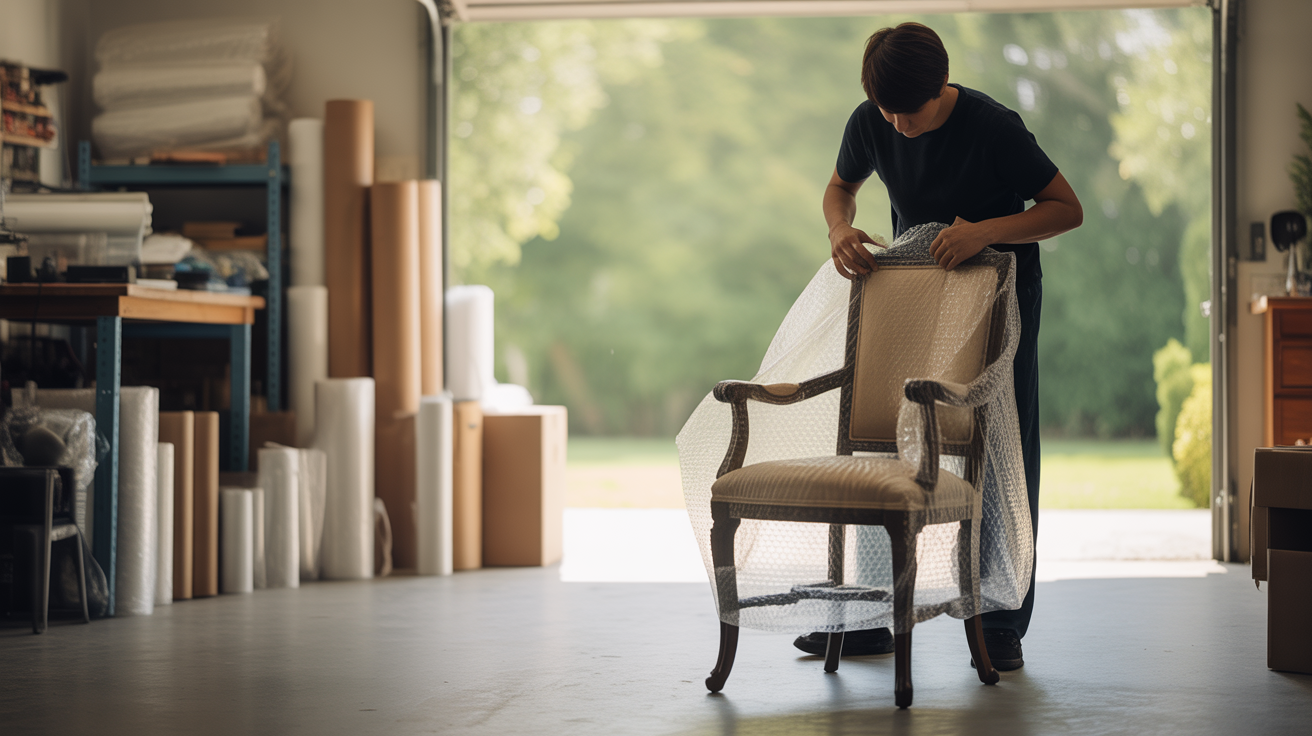
Wrap legs and delicate carved elements with moving blankets secured by cotton ties rather than tape. Adhesives can damage finishes when removed, especially after temperature cycling. Store tables upside down on padded surfaces to protect legs from pressure damage.
Electronics and Appliances
Electronics face two primary winter risks: condensation on circuit boards and battery damage from freezing. Remove all batteries before storage; they can leak corrosive chemicals when frozen. Allow devices to reach room temperature before powering on after removal from cold storage, waiting at least 2 hours for condensation to evaporate.
Wrap electronics in anti-static bags, then surround them with silica gel packets inside their original boxes when available. If original packaging is unavailable, use sturdy cardboard boxes with foam padding on all sides. Label boxes clearly to avoid rough handling.
For appliances, drain all water lines completely. Refrigerators, washing machines, and dishwashers contain water that freezes and cracks internal components. Prop refrigerator and freezer doors open slightly to prevent mold growth inside sealed compartments.
Clothing and Textiles
Fabric items attract moisture and pests when stored improperly. Wash or dry clean all clothing before storage; body oils and food residue attract insects and promote mold growth. Use vacuum-sealed bags for maximum protection, removing air that carries moisture and provides insect habitat.
Store textiles in plastic bins rather than cardboard boxes. Cardboard absorbs moisture from cold air and transfers it to fabrics, creating musty odors and mildew. Add cedar blocks or lavender sachets as natural pest deterrents; avoid mothballs, which leave persistent chemical odors.
Hang formal wear and structured garments on padded hangers inside garment bags. Folding creates permanent creases that set during extended cold storage.
Documents, Photos, and Artwork
Paper products require the most stable conditions of any stored materials. Temperature fluctuations cause paper to absorb and release moisture repeatedly, leading to warping, foxing (brown spots), and ink bleeding. Store documents in acid-free folders inside plastic bins with tight-fitting lids.
Photographs should never touch each other directly. Place acid-free tissue paper between prints and store them flat rather than standing on edge. Frame artwork with UV-protective glass and wrap in breathable materials; never use bubble wrap directly against painted surfaces.
Metal Items and Tools
Metal develops rust when moisture condenses on cold surfaces. Apply a thin coat of machine oil or rust preventative spray to all metal tools, hardware, and equipment before storage. Wipe away excess to prevent dripping onto other items.
Store tools in their original cases when possible, adding silica gel packets to each container. Hang items on pegboard or shelving rather than piling them in boxes, which traps moisture and causes scratching.
Moisture Control Strategies That Actually Work
Moisture causes more winter storage damage than freezing temperatures alone. Implementing multiple moisture control methods provides redundant protection against humidity fluctuations.
Desiccant Products Comparison
| Product Type | Coverage Area | Replacement Frequency | Cost Range |
|---|---|---|---|
| Silica Gel Packets | 1 cubic foot per packet | Rechargeable in oven | $8 to $15 for 50 packets |
| Calcium Chloride Tubs | 100 to 250 square feet | Every 30 to 60 days | $5 to $12 per container |
| Charcoal Briquettes | 50 square feet per pound | Every 60 to 90 days | $10 to $15 for 10 pounds |
| Electric Dehumidifiers | 500 to 1,500 square feet | Continuous operation | $150 to $300 purchase |
For a standard 10x10 storage unit, place 3 to 4 calcium chloride containers at floor level in different corners. Add silica gel packets inside individual boxes and containers for layered protection. This combination addresses both ambient humidity and localized moisture around sensitive items.
Container Selection Guidelines
Airtight plastic containers with locking lids outperform cardboard in every winter storage scenario. Cardboard absorbs moisture from cold air, weakens structurally, and collapses under stacked weight. Plastic maintains its integrity regardless of temperature or humidity levels.
Choose clear containers when possible; visibility eliminates the need to open and expose contents to humid air when searching for specific items. Label all containers on multiple sides with permanent marker, including contents and storage date.
If you need assistance determining what size containers or storage unit dimensions work best for your belongings, measuring your items before purchasing supplies saves time and money.
Preventing Mold and Mildew in Storage Units
Mold spores exist everywhere and require only moisture and organic material to grow. Prevention focuses on eliminating the moisture component since organic materials cannot always be avoided.
Pre-Storage Cleaning Protocol
Clean all items with appropriate solutions before storage. Use a mixture of 1 cup white vinegar per gallon of water for general surfaces. This mild acid kills existing mold spores without damaging most materials. Allow 24 hours of drying time in a well-ventilated area before packing.
For items that previously showed mold, treat with a commercial mold inhibitor spray after cleaning. These products leave a protective film that prevents new growth for 3 to 6 months.
Airflow Optimization
Stagnant air promotes mold growth even in relatively dry conditions. Create airflow channels through your stored items by leaving 2 to 3 inch gaps between stacked boxes and maintaining 4 to 6 inches of clearance from all walls.
Position larger items to create natural air corridors through your unit. Avoid completely filling the space; a small open area allows air movement that prevents moisture accumulation in dead zones.
Regular Inspection Schedule
Check your storage unit every 4 to 6 weeks during winter months. Look for signs of moisture intrusion: water stains on boxes, musty odors, visible condensation on surfaces, or soft spots in cardboard containers.
Open several containers during each visit to inspect contents directly. Early detection of mold allows treatment before spread damages additional items. Replace moisture absorbers that appear saturated or have collected visible water.
What Items Should Never Be Stored in Unheated Units
Some belongings require climate-controlled storage regardless of preparation efforts. Attempting to store these items in standard units risks permanent, irreversible damage.
Temperature-Sensitive Items
- Wine and beverages: Freezing ruins flavor profiles and can burst bottles
- Medications: Most require storage between 59°F and 77°F
- Cosmetics and toiletries: Emulsions separate and containers crack when frozen
- Latex paint: Freezes and becomes unusable below 35°F
- Canned goods: Seals may fail after freezing and thawing cycles
- Musical instruments: Wood, strings, and adhesives suffer in temperature extremes
- Vinyl records: Warp and crack below 45°F or above 85°F
Humidity-Sensitive Items
- Antique furniture: Veneers separate and joints loosen with humidity changes
- Leather goods: Crack and develop mold without stable humidity
- Photographs and negatives: Stick together and develop permanent damage
- Stamp and coin collections: Tarnish and deteriorate in fluctuating conditions
- Important documents: Paper warps and ink bleeds with moisture exposure
For these sensitive items, consider climate-controlled options that maintain temperatures between 55°F and 80°F year-round. The additional monthly cost, typically $25 to $50 more than standard units, provides insurance against irreplaceable losses.
Seasonal Timeline for Winter Storage Preparation
Proper timing of preparation tasks ensures your belongings enter storage in optimal condition before harsh weather arrives.
October: Initial Assessment and Cleaning
Sort through items destined for storage. Discard or donate anything you no longer need; storing unnecessary items wastes money and space. Clean all remaining items thoroughly and begin the drying process for any pieces that require extended air-drying time.
Purchase storage supplies including plastic containers, moisture absorbers, moving blankets, and packing materials. Buying early avoids holiday season shortages and price increases.
November: Packing and Organization
Pack items systematically, grouping similar categories together. Create an inventory list as you pack, noting box contents and any items of significant value. This documentation proves invaluable for insurance claims and simplifies retrieval later.
Apply protective treatments to furniture, metal items, and leather goods. Wrap delicate pieces and secure padding with cotton ties or stretch wrap over blankets.
December through February: Active Monitoring
Conduct monthly inspections during peak winter months. Check moisture absorbers and replace as needed. Look for signs of pest activity, water intrusion, or temperature-related damage. Address any issues immediately before they worsen.
If you notice problems during inspections, learn more about our facility security and maintenance features that help protect your belongings throughout the season.
March: Spring Transition
As temperatures stabilize, reduce inspection frequency to every 6 to 8 weeks. Remove or reduce moisture absorbers as humidity levels normalize. Plan retrieval of seasonal items you will need for spring activities.
Common Winter Storage Mistakes to Avoid
Learning from others' errors prevents costly damage to your own belongings. These frequently repeated mistakes cause the majority of winter storage problems.
Storing Items While Still Damp
Even slight moisture trapped in fabrics, wood grain, or container interiors creates mold problems within weeks. Allow extra drying time for items cleaned immediately before storage, particularly thick textiles, upholstered furniture, and wooden pieces.
Using Newspaper as Packing Material
Newspaper absorbs moisture and transfers ink to wrapped items. The acids in newsprint also cause yellowing and deterioration of delicate surfaces over time. Use acid-free packing paper, bubble wrap, or clean cotton materials instead.
Overpacking Containers
Stuffing boxes to maximum capacity prevents airflow and increases pressure on contents. Heavy boxes also become difficult to move safely, increasing the risk of dropping and damage. Fill containers to 80% capacity and use lighter materials to fill remaining space.
Neglecting Pest Prevention
Rodents seek warm shelter during winter and can enter storage units through surprisingly small openings. Never store food products, even sealed packages. Use pest deterrents like peppermint oil sachets and inspect for droppings during regular visits.
Forgetting About Insurance
Standard renters or homeowners insurance may not cover items in off-site storage. Verify your policy coverage and consider supplemental storage insurance for valuable belongings. Document item values with photographs and receipts before storage.
Choosing the Right Storage Solution for Winter
Selecting appropriate storage options based on your specific needs and item types prevents problems before they start.
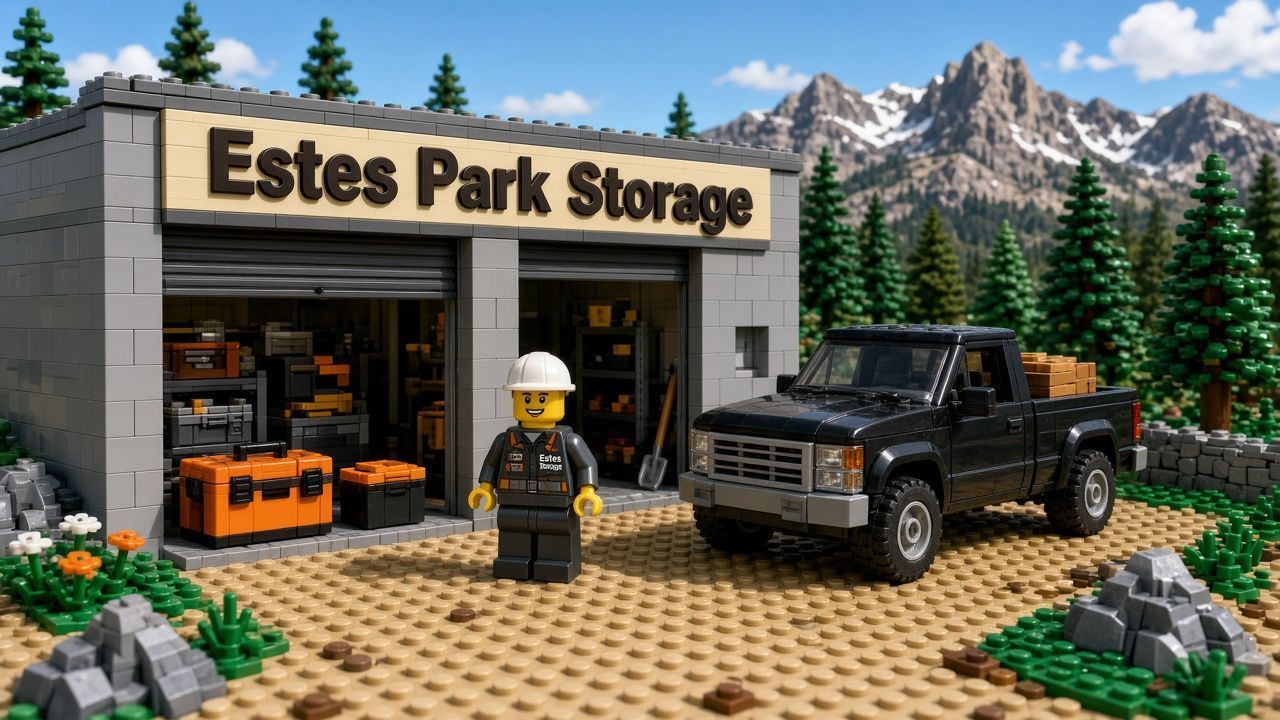
Drive-up storage units offer convenient access for loading and unloading heavy or bulky items without navigating hallways or elevators. Ground-level access simplifies the process of bringing in furniture, appliances, and seasonal equipment. At Estes Park Storage, our drive-up units provide 24/7 access, allowing you to check on belongings whenever concerns arise.
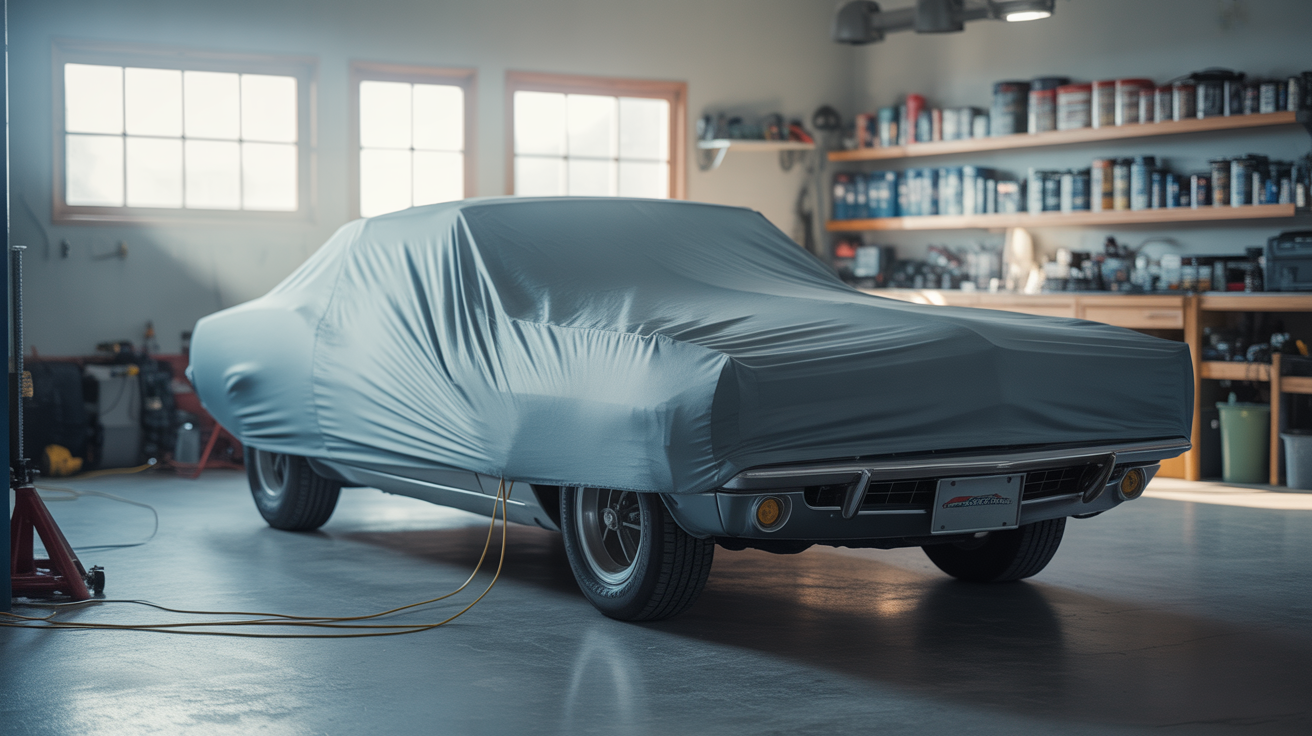
For vehicles, boats, and recreational equipment, dedicated parking spaces protect against winter elements while keeping these items accessible. Proper vehicle winterization, including fuel stabilizer treatment and battery maintenance, complements the protection provided by covered or enclosed storage options.
Consider your access needs when choosing unit size and location. Frequent access during winter requires units positioned for easy entry during snow conditions. Less frequent access allows flexibility in unit placement within the facility.
Frequently Asked Questions About Winter Storage
What temperature should a winter storage unit maintain to prevent damage?
Ideal storage temperatures range from 55°F to 80°F for most household items. Standard unheated units in Estes Park may drop to 15°F to 25°F during winter nights, making climate control essential for temperature-sensitive belongings. Items like electronics, wooden furniture, and photographs require stable temperatures to prevent damage.
Can I store electronics and sensitive equipment safely in winter storage?
Electronics can survive winter storage with proper preparation: remove batteries, wrap in anti-static materials, and include silica gel packets. However, extreme temperature cycling causes condensation on circuit boards that may cause failure when devices are powered on. For valuable electronics, climate-controlled storage provides the safest option.
How often should I check on items stored during winter months?
Inspect stored items every 4 to 6 weeks during winter. More frequent checks, every 2 to 3 weeks, benefit units containing moisture-sensitive items or those in facilities without climate control. Each visit should include checking moisture absorbers, looking for pest evidence, and opening several containers to inspect contents directly.
What is the best way to prevent rust and corrosion on metal items in winter storage?
Apply a thin coat of machine oil, WD-40, or commercial rust preventative to all metal surfaces before storage. Store metal items in their original cases with added silica gel packets. Avoid storing metal directly on concrete floors, which transmit cold and moisture. Hang tools on pegboard or shelving when possible.
Will my stuff get moldy in storage?
Mold growth depends entirely on moisture levels, not temperature alone. Items stored while damp, packed in cardboard, or placed directly on concrete floors face high mold risk. Proper preparation, including thorough drying, airtight containers, elevation, and moisture absorbers, prevents mold in most storage situations. Regular inspections catch early growth before it spreads.
How do I prepare my house for a freeze while items are in storage?
Before leaving a property vacant during winter storage periods, set thermostats to at least 55°F, open cabinet doors to allow warm air circulation around pipes, and shut off water supply to prevent burst pipes. Drain outdoor faucets and irrigation systems completely. These precautions protect both your home and any items that remain inside.
|