How to Create an Inventory System for Storage Unit Items |
| HOW TO CREATE AN INVENTORY SYSTEM FOR STORAGE UNIT ITEMS
⏱ 11 min read ·
📄 #2,092 words
Learn how to create a storage unit inventory system in 6 steps. Includes free templates, app recommendations, and organization tips for long-term tracking.
|
A storage unit inventory system requires three components: a tracking method (spreadsheet, app, or notebook), a labeling system for boxes and containers, and a consistent update process when items enter or leave storage. The entire setup takes 2 to 4 hours for a typical 10x10 unit and reduces retrieval time by 60 to 75 percent.
| Key Points: | |
|---|---|
| • | Choose between digital tools (Google Sheets, Sortly, Encircle) or physical methods (notebook, index cards) based on your comfort level |
| • | Number every box 1 through N and record contents before sealing; this single step prevents 90 percent of retrieval frustration |
| • | Create a simple unit map showing box locations by zone (front, middle, back) for items you need frequently |
| • | Update your inventory within 24 hours of any addition or removal to maintain accuracy |
| • | Store one copy of your inventory at home and one digitally (cloud backup) for insurance documentation |
Why You Need a Storage Unit Inventory System
According to the Extra Space Storage organization guide , renters who maintain detailed inventories spend 70 percent less time searching for specific items. Without documentation, a simple task like finding holiday decorations can turn into a 2 to 3 hour excavation project.
Insurance claims represent another critical reason for inventory documentation. The National Association of Insurance Commissioners recommends photographic evidence paired with written descriptions for all stored valuables. If theft, fire, or water damage occurs, your inventory becomes the foundation for reimbursement claims.
For residents near Rocky Mountain National Park storing seasonal gear, outdoor equipment, or business inventory, a documented system also helps track item conditions over time. Colorado's temperature swings between 20 degrees Fahrenheit in winter and 85 degrees in summer can affect certain materials, making condition notes valuable for long-term storage decisions.
The Four Types of Inventory Management Systems
Storage inventory systems fall into four categories, each suited to different needs and technical comfort levels. The Self Storage Association reports that digital methods now account for 62 percent of organized renters, though paper systems remain effective for smaller units.
| System Type | Best For | Setup Time | Cost |
|---|---|---|---|
| Spreadsheet (Google Sheets, Excel) | 50 to 200 items, tech-comfortable users | 1 to 2 hours | Free |
| Dedicated Inventory App (Sortly, Encircle) | 200+ items, photo documentation needs | 2 to 3 hours | Free to $9/month |
| Paper Notebook System | Under 50 items, minimal tech preference | 30 to 60 minutes | Under $10 |
| Barcode/QR Code System | Business inventory, frequent access | 3 to 5 hours | $20 to $50 for labels |
The Price Self Storage inventory guide notes that spreadsheets offer the best balance of simplicity and functionality for most household storage needs. Google Sheets provides free cloud backup and mobile access, eliminating the risk of losing your only inventory copy.

Step 1: Gather Your Inventory Supplies
Before documenting a single item, collect these materials to streamline the process. Having everything ready reduces total inventory time by approximately 40 percent compared to stopping mid-task to find supplies.
Essential supplies include:
- Permanent markers (black and one color for priority items)
- Packing tape and tape gun
- Numbered labels or stickers (1 through 100)
- Smartphone or tablet for photos
- Measuring tape for large items
- Clipboard with inventory sheets or charged device with spreadsheet access
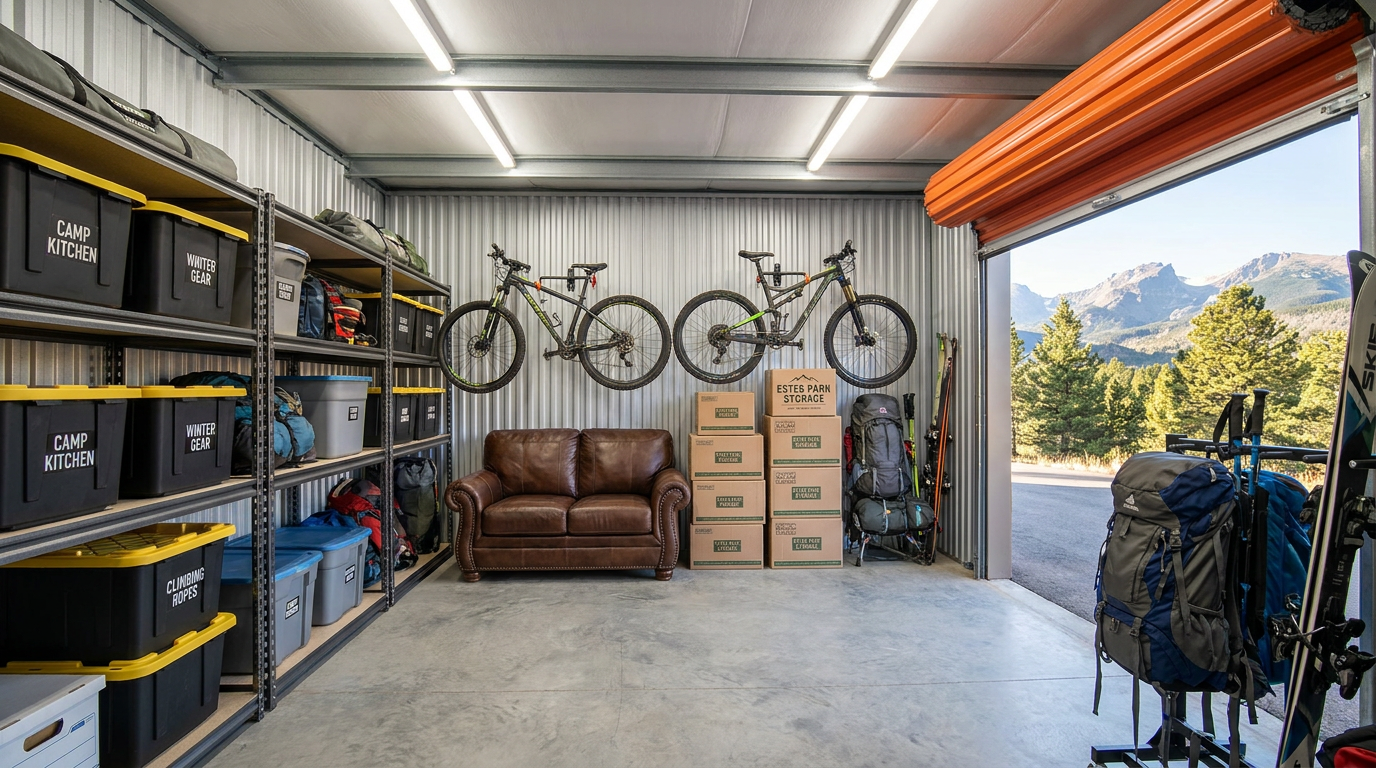
For units at facilities like Estes Park Storage , the drive-up access makes the inventory process significantly easier. You can work directly from your vehicle with supplies organized in the trunk, rather than carrying materials through hallways or up elevators.
Step 2: Choose Your Tracking Method
Your tracking method determines long-term success. According to Space Shop Self Storage research , 73 percent of renters who abandon inventory systems cite overly complex methods as the primary reason. Choose the simplest system that meets your needs.
Free Spreadsheet Template Structure
Create a Google Sheets or Microsoft Excel document with these columns:
- Box/Item Number: Sequential numbering (Box 1, Box 2, or Item A1, A2)
- Category: Kitchen, Bedroom, Electronics, Seasonal, Documents, Tools
- Contents Description: Specific items listed (not just "kitchen stuff")
- Quantity: Number of items in container
- Condition: Excellent, Good, Fair (important for insurance)
- Estimated Value: Replacement cost in dollars
- Location in Unit: Front-left, Middle-center, Back-right
- Date Stored: When item entered storage
- Photo Link: Google Drive or iCloud link to images
This structure works for units ranging from 5x10 spaces holding 20 to 30 boxes to larger 10x20 units containing entire household contents. The storage unit size guide can help you estimate capacity before beginning your inventory.
Recommended Inventory Apps
For those preferring mobile-first solutions, these apps offer free tiers suitable for personal storage:
Sortly provides visual inventory with photo organization, QR code generation, and cloud sync. The free tier covers up to 100 items, sufficient for most 10x10 units. Premium plans at $9 per month unlock unlimited items and team sharing.
Encircle specializes in home inventory for insurance purposes, generating professional PDF reports. The app is free and particularly valuable for documenting high-value items like antiques, electronics, or collectibles.
Memento Database offers customizable fields and offline access, useful when cell service is limited. This Android-focused app works well for business inventory with complex categorization needs.
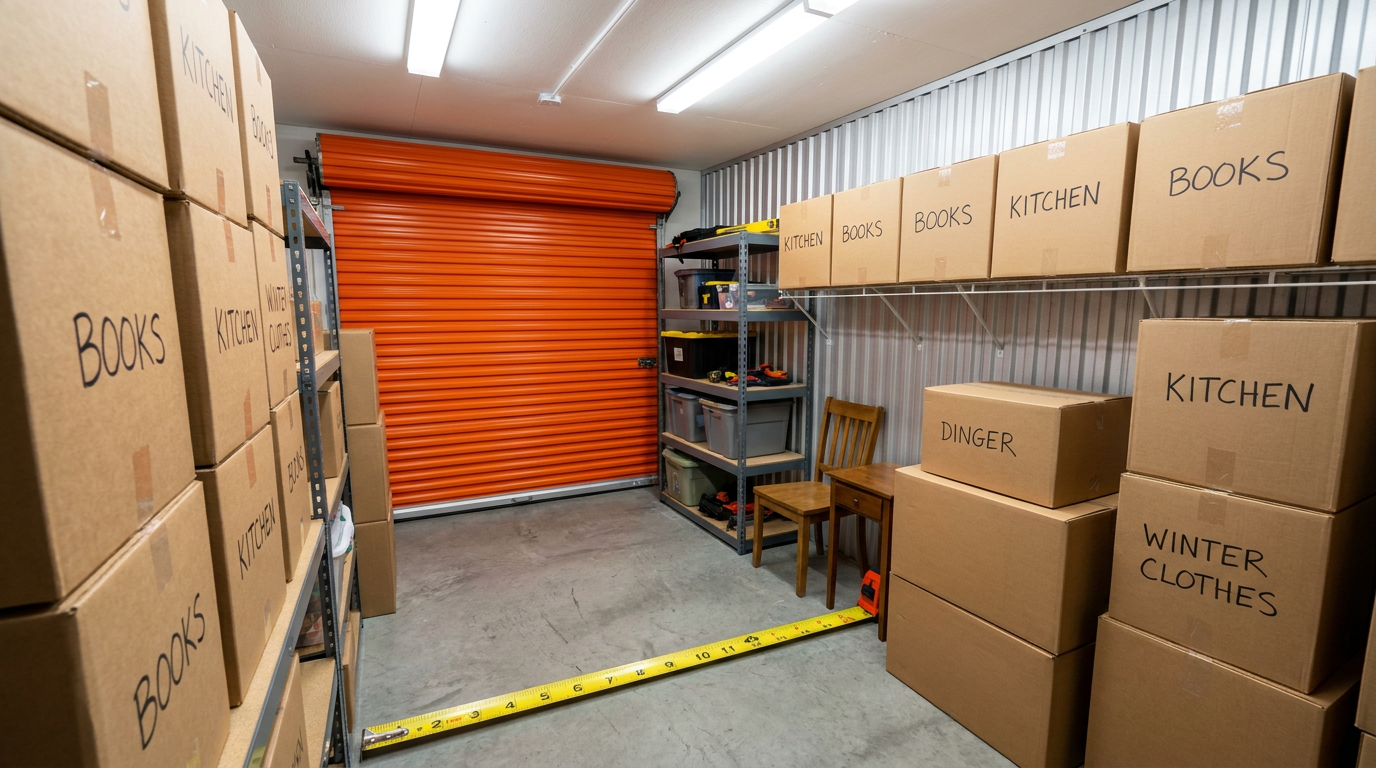
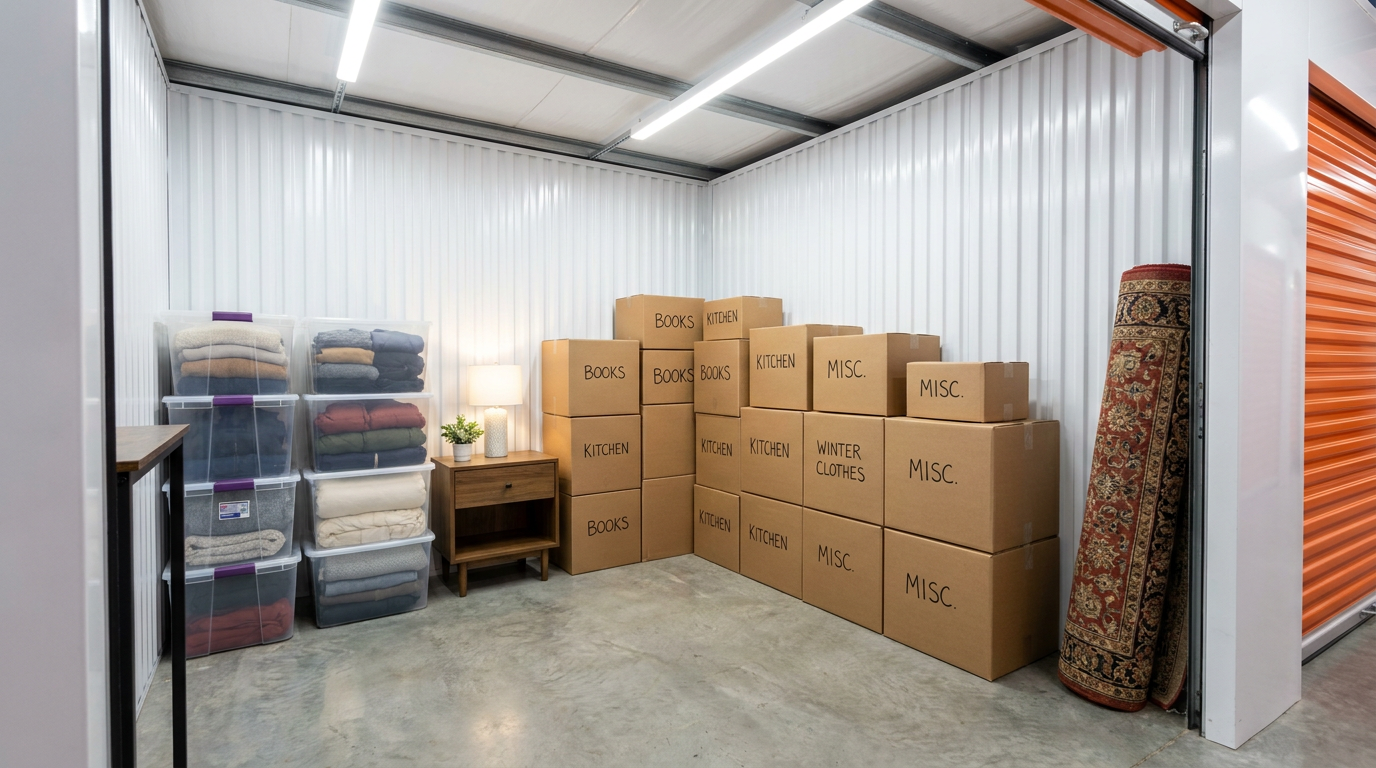
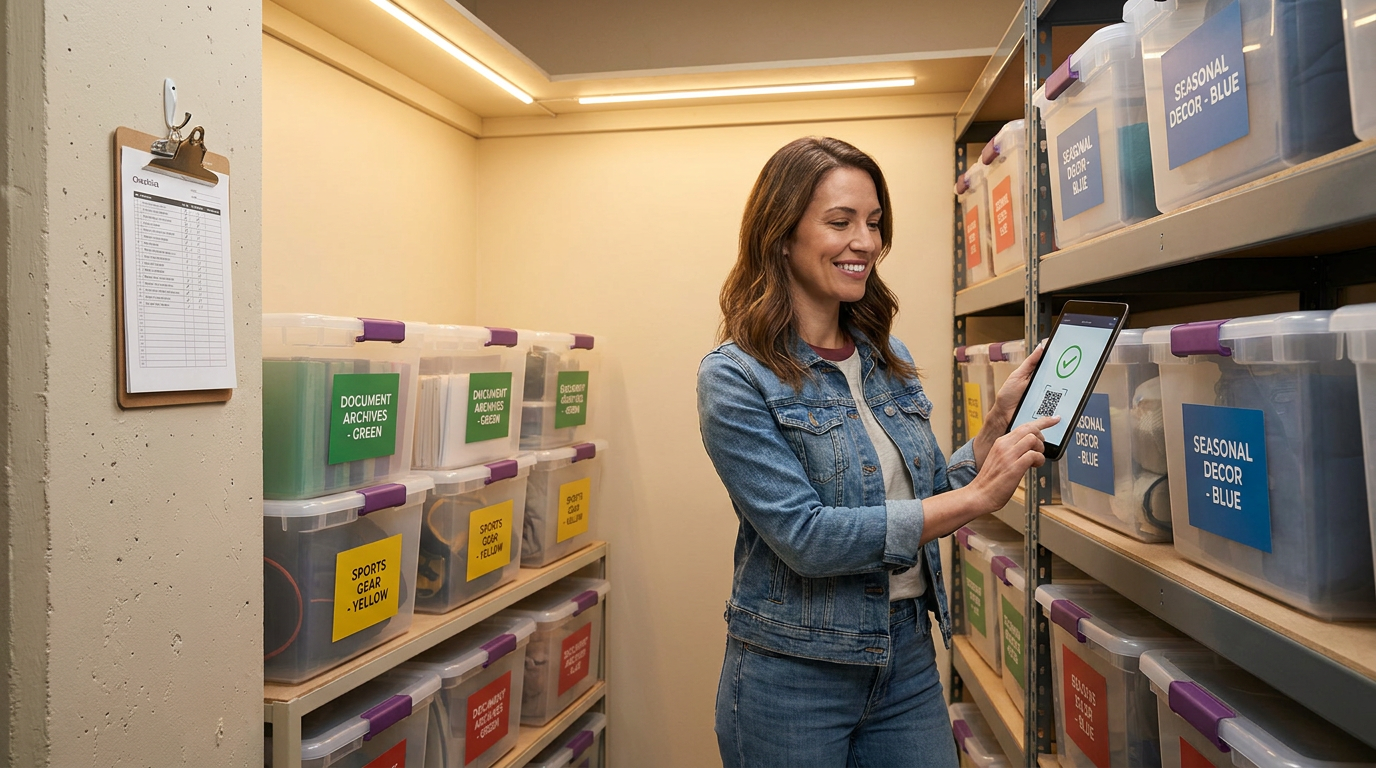
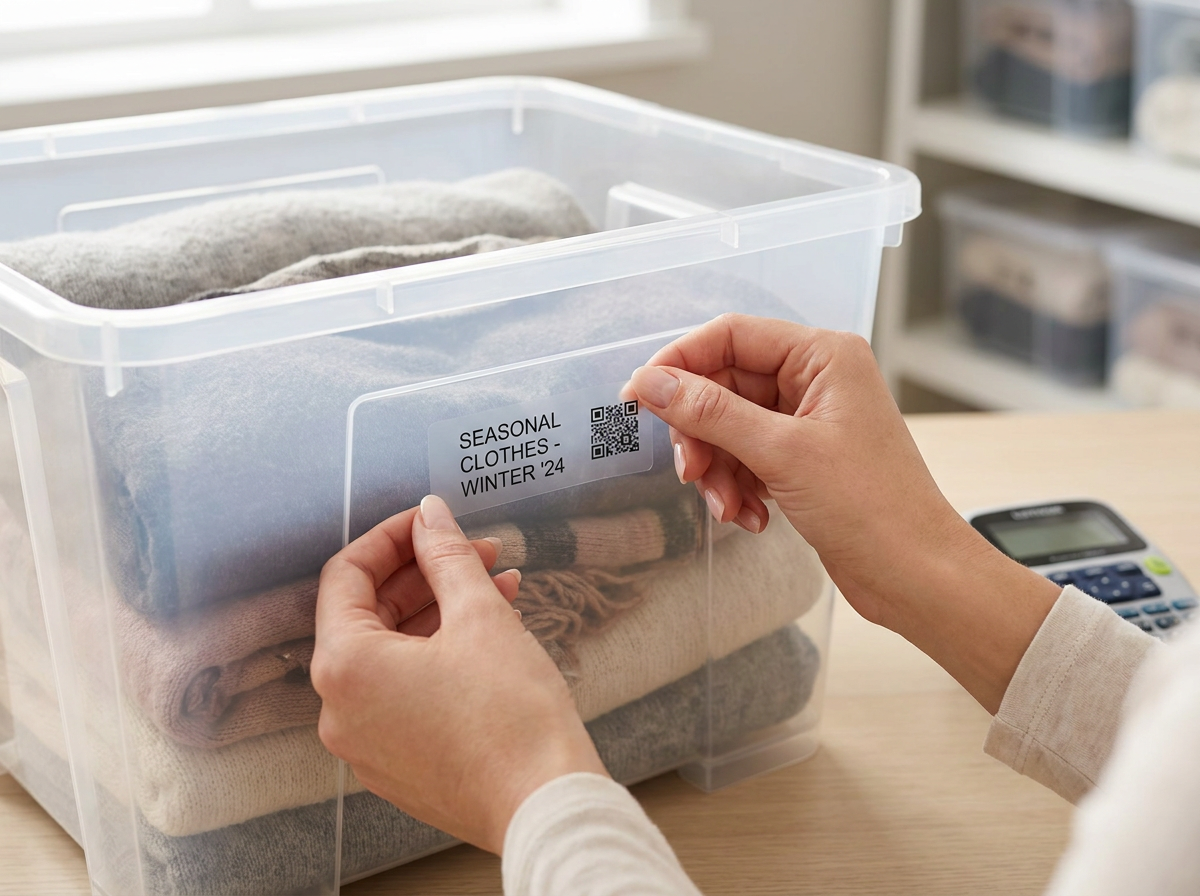
Step 3: Create Your Labeling System
Consistent labeling connects your physical boxes to your digital or paper inventory. The labeling system should be visible from multiple angles and survive the storage environment for 12 to 24 months minimum.
Effective labeling practices:
- Write box numbers on at least two sides plus the top
- Use color coding by category (blue tape for bedroom, green for kitchen)
- Mark "FRAGILE" boxes with red tape or markers
- Include a brief contents summary on the box exterior
- Place "OPEN FIRST" labels on boxes containing essentials
For long-term storage in Colorado's variable climate, laminated labels or permanent marker on packing tape outlasts standard paper labels. Humidity and temperature changes can cause adhesive labels to peel within 6 to 8 months.
Step 4: Document Contents Systematically
The documentation phase requires discipline but delivers the highest return on time investment. Work through items methodically rather than jumping between categories, which increases errors by approximately 25 percent according to professional organizer surveys.
Box-by-Box Documentation Process
- Assign a number before opening or packing any box
- List every item as you pack or unpack (not from memory)
- Photograph contents before sealing, including any serial numbers
- Note condition using consistent terminology
- Record estimated value for items over $50
- Seal and label the exterior immediately
For existing units already packed, work front to back over multiple sessions. Attempting to inventory an entire 10x10 unit in one day leads to rushed documentation and missed items. Plan for 2 to 3 visits of 90 minutes each.
Special Documentation for Valuables
Items exceeding $500 in value deserve enhanced documentation. Photograph from multiple angles, record serial numbers, and save original receipts or appraisals digitally. This level of detail supports insurance claims and proves ownership if disputes arise.
Consider whether high-value items require additional protection. A tenant protection plan provides coverage against theft, fire, and water damage, complementing your inventory documentation with financial protection.
Step 5: Map Your Unit Layout
A simple floor plan transforms retrieval from guesswork to precision. Draw a bird's-eye view of your unit divided into zones, then note which box numbers occupy each zone.
Recommended zone system:
- Zone A (Front): Items needed within 30 days, frequently accessed seasonal gear
- Zone B (Middle): Items needed 2 to 4 times per year
- Zone C (Back): Long-term storage, rarely accessed archives
- Zone D (Top/Shelving): Lightweight items, empty luggage, soft goods
This zone approach works particularly well for outdoor enthusiasts storing camping equipment, ski gear, and hiking supplies near Rocky Mountain National Park. Summer gear moves to Zone C during winter months while ski equipment occupies Zone A, then positions reverse seasonally.
For questions about organizing your specific unit size, the frequently asked questions page covers common layout strategies and access considerations.
Step 6: Establish Update Procedures
An inventory system only maintains value through consistent updates. The Extra Space Storage blog reports that 45 percent of storage renters stop updating inventories within 6 months, rendering the initial effort largely wasted.
Sustainable update habits:
- Update your inventory within 24 hours of any unit visit
- Keep your phone charged during visits for immediate photo documentation
- Schedule quarterly review reminders in your calendar
- Maintain a "pending updates" note for quick additions
- Review and update estimated values annually for insurance accuracy
Digital systems with cloud sync make updates easier since changes save automatically across devices. If using a paper system, photograph updated pages as backup after each modification.
Free Inventory Sheet Template
Yes, free inventory templates exist across multiple platforms. Google Sheets offers storage-specific templates in their template gallery under "Personal" categories. Microsoft Excel includes home inventory templates adaptable for storage use.
For a simple starting point, create a new spreadsheet with this structure:
| Box # | Category | Contents | Value | Location |
|---|---|---|---|---|
| 1 | Kitchen | Pots, pans, utensils (12 items) | $150 | Zone B, Stack 2 |
| 2 | Electronics | TV (Samsung 55"), cables, remote | $600 | Zone A, Floor |
| 3 | Seasonal | Christmas decorations, lights, tree stand | $200 | Zone C, Top |
Expand columns as needed for your specific tracking requirements. The key is starting simple and adding complexity only when necessary.
Common Inventory Mistakes to Avoid
Learning from others' errors saves significant time and frustration. These mistakes appear repeatedly in storage organization forums and professional organizer consultations.
Vague descriptions: "Miscellaneous" or "stuff" as contents descriptions provide zero retrieval value. Specify actual items even if the list runs long. "Kitchen misc: wooden spoons, measuring cups, can opener, wine opener" takes 10 extra seconds but saves 10 minutes later.
Skipping photos: Written descriptions cannot capture condition, color, or configuration. Photos provide irreplaceable documentation for insurance and memory. Storage units often sit untouched for months; photos remind you exactly what you stored.
Single-copy inventory: Paper-only inventories stored at home create single points of failure. Fire, flood, or misplacement eliminates your entire documentation. Maintain at least one digital backup in cloud storage like Google Drive, Dropbox, or iCloud.
Inconsistent numbering: Starting over with numbering after removing boxes creates confusion. Use permanent numbers and mark removed boxes as "EMPTY" or "REMOVED" rather than reassigning numbers to new boxes.
Inventory Tips for Specific Storage Situations
Business Inventory Storage
Commercial inventory requires additional tracking fields: SKU numbers, wholesale cost, retail price, and reorder thresholds. Businesses storing inventory in units like the 10x20 drive-up options benefit from barcode systems that integrate with point-of-sale software like Square, Shopify, or QuickBooks.
Separate business inventory from personal items in distinct zones or units. This separation simplifies tax documentation and insurance claims while preventing accidental mixing during busy retrieval trips.
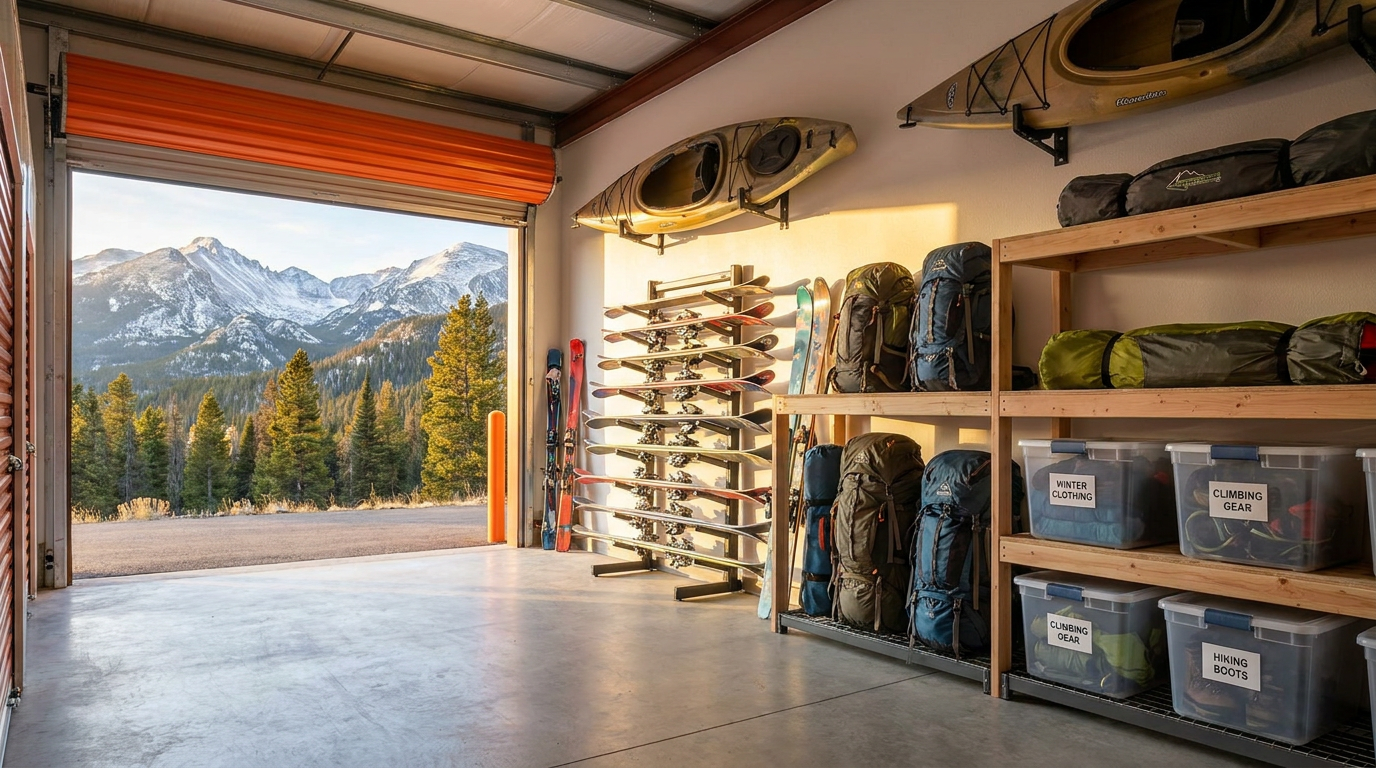
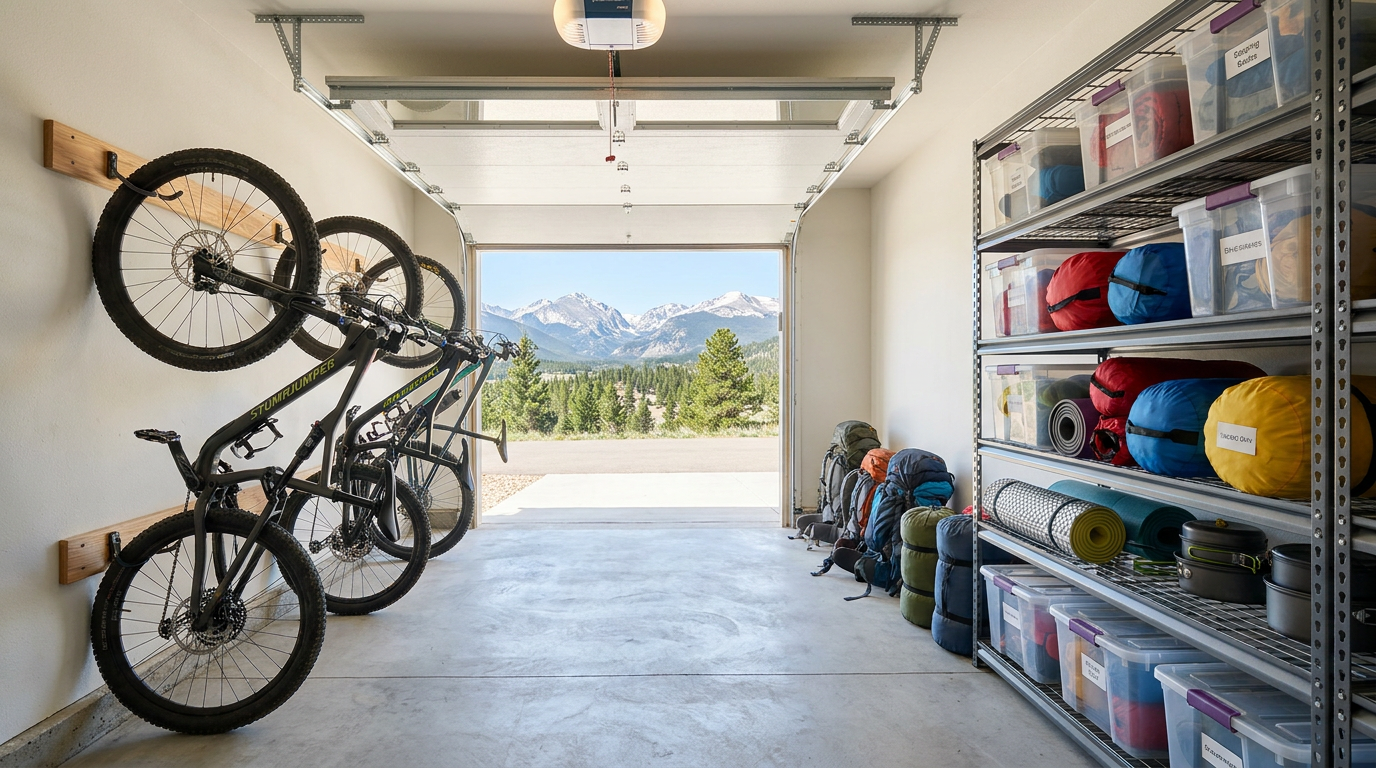
Seasonal and Recreational Gear
Estes Park residents and visitors storing outdoor equipment should track maintenance dates alongside standard inventory data. Note when skis were last waxed, when camping gear was waterproofed, or when bike tires were replaced. This maintenance tracking extends equipment life and ensures gear is trip-ready when retrieved.
Group seasonal items by activity rather than by item type. A "Summer Camping" box containing tent, sleeping bags, cookware, and lanterns retrieves faster than searching four separate "outdoor equipment" boxes organized by item category.
Moving and Transition Storage
People between homes should prioritize "first week essentials" boxes with clear labeling and Zone A placement. These boxes contain items needed immediately upon moving into a new space: toiletries, phone chargers, basic kitchen items, bedding, and important documents.
The locally owned team at Estes Park Storage understands transition storage needs, offering month-to-month flexibility without deposits for residents navigating moves in the Estes Valley area.
Maintaining Your System Long-Term
Inventory systems require minimal ongoing effort when properly established. Budget 15 to 20 minutes per unit visit for documentation updates, which compounds into significant time savings over months and years of storage.
Set calendar reminders for quarterly inventory reviews even if you have not visited the unit. These reviews catch outdated values, remind you of forgotten items, and prompt decisions about whether continued storage makes financial sense for specific items.
Share inventory access with a trusted family member or friend. In emergencies, someone else may need to retrieve items or file insurance claims on your behalf. Google Sheets sharing or app-based team features make this straightforward without compromising security.
Your storage unit inventory is a living document. Treat it as such, and the 2 to 4 hours invested in initial setup will return value for years of organized, stress-free storage management.
|