How to Prepare Your RV for Winter Storage: Complete Guide |
| HOW TO PREPARE YOUR RV FOR WINTER STORAGE
⏱ 10 min read ·
📄 #1,850 words
Learn how to winterize your RV for storage with this step-by-step checklist covering water systems, batteries, pest prevention, and exterior protection.
|
P reparing your RV for winter storage requires draining all water systems, adding RV-safe antifreeze, disconnecting batteries, cleaning thoroughly, and protecting against pests and weather damage. The complete winterization process takes 3 to 5 hours and should begin when temperatures consistently drop below 32°F, typically in late October for Estes Park and mountain areas.
| Key Points: | |
|---|---|
| • | Drain all water tanks and add 2 to 3 gallons of RV-safe antifreeze to prevent pipe damage |
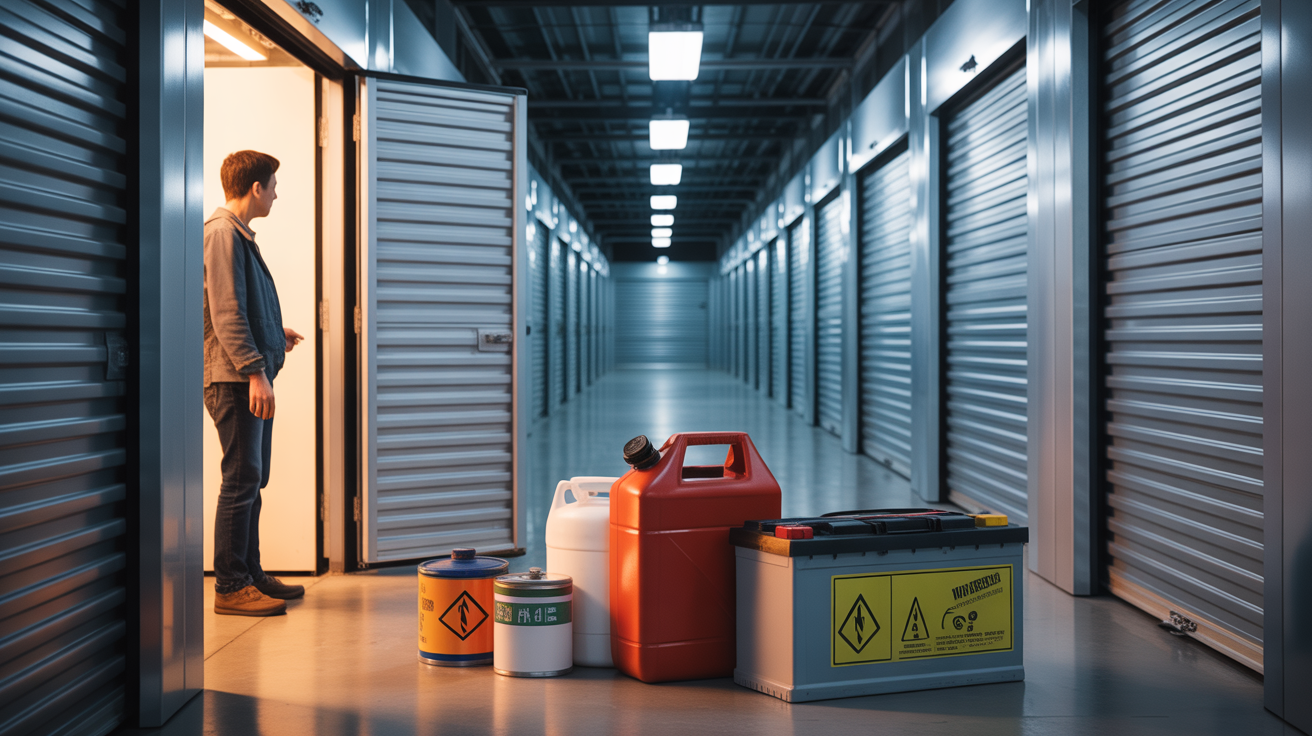
| • | Disconnect batteries and store at 40°F or warmer with a trickle charger |
| • | Remove all food and use steel wool in openings to prevent rodent damage |
| • | Add fuel stabilizer if storing longer than 30 days to prevent fuel degradation |
| • | Check on stored RVs every 2 to 4 weeks to catch problems early |
Water System Winterization: The Most Critical Step
Frozen water causes more winter storage damage than any other factor. Water expands 9% when it freezes, creating enough pressure to crack pipes, fittings, and tanks. A single burst pipe can cost $500 to $2,000 to repair, making proper winterization essential for RV owners in mountain climates.
Step-by-Step Water System Draining
Start by draining the fresh water tank completely using the tank drain valve. Next, open all faucets (hot and cold) and flush the toilet to release water from the lines. Locate and open the low-point drain valves, typically found underneath the RV near the water tank area.
Drain the water heater by first turning it off and allowing it to cool for 2 to 3 hours. Remove the drain plug and open the pressure relief valve to allow complete drainage. Never drain a hot water heater, as this can damage the tank lining.
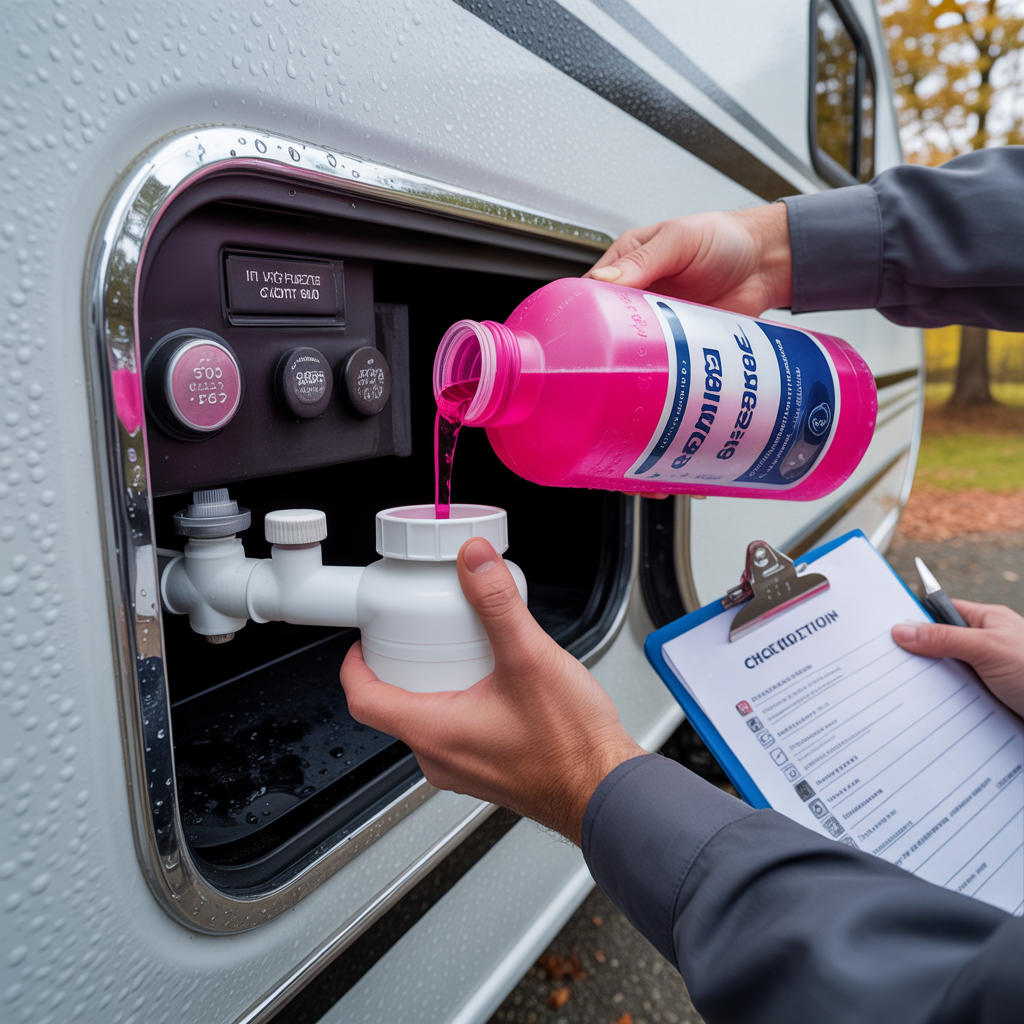
Adding RV Antifreeze Properly
Use only non-toxic, RV-specific antifreeze rated to minus 50°F. Standard automotive antifreeze is toxic and will contaminate your water system. You will need 2 to 3 gallons for most RVs, though larger motorhomes may require 4 to 5 gallons.
Bypass the water heater before adding antifreeze to avoid wasting 6 to 10 gallons of product. Most RVs have a bypass valve near the water heater; consult your owner's manual for the exact location. Connect a winterizing kit or hand pump to draw antifreeze directly into the water lines.
Run antifreeze through each faucet until you see pink liquid flowing. Do not forget the outdoor shower, ice maker line, and washing machine hookups if equipped. Pour one cup of antifreeze down each drain, including the toilet, to protect P-traps from freezing.
Should You Leave Antifreeze in Your RV Toilet Bowl?
Yes, leave antifreeze in your RV toilet bowl throughout winter storage. Pour approximately one cup of RV-safe antifreeze into the bowl after flushing. This protects the toilet seal and the P-trap below from freeze damage. The antifreeze also prevents the seal from drying out and cracking during extended storage.
Battery Care and Electrical System Protection
Cold temperatures reduce battery capacity by 20% at 32°F and up to 50% at 0°F. Leaving batteries connected during storage allows parasitic drain from clocks, LP detectors, and other systems, potentially killing the battery within 30 to 60 days.
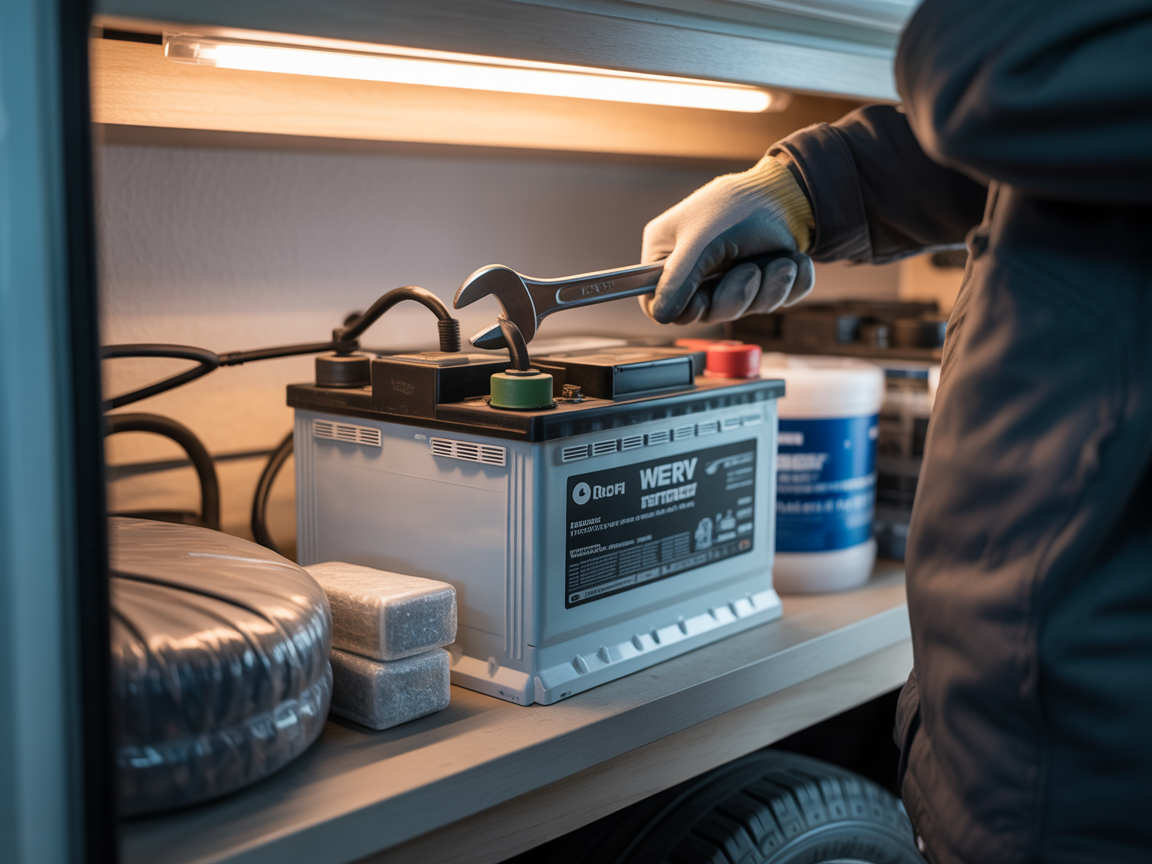
Proper Battery Storage Procedure
Disconnect the negative terminal first, then the positive terminal. Clean battery terminals with a baking soda and water solution to remove corrosion. Apply a thin coat of petroleum jelly or battery terminal protector to prevent future corrosion.
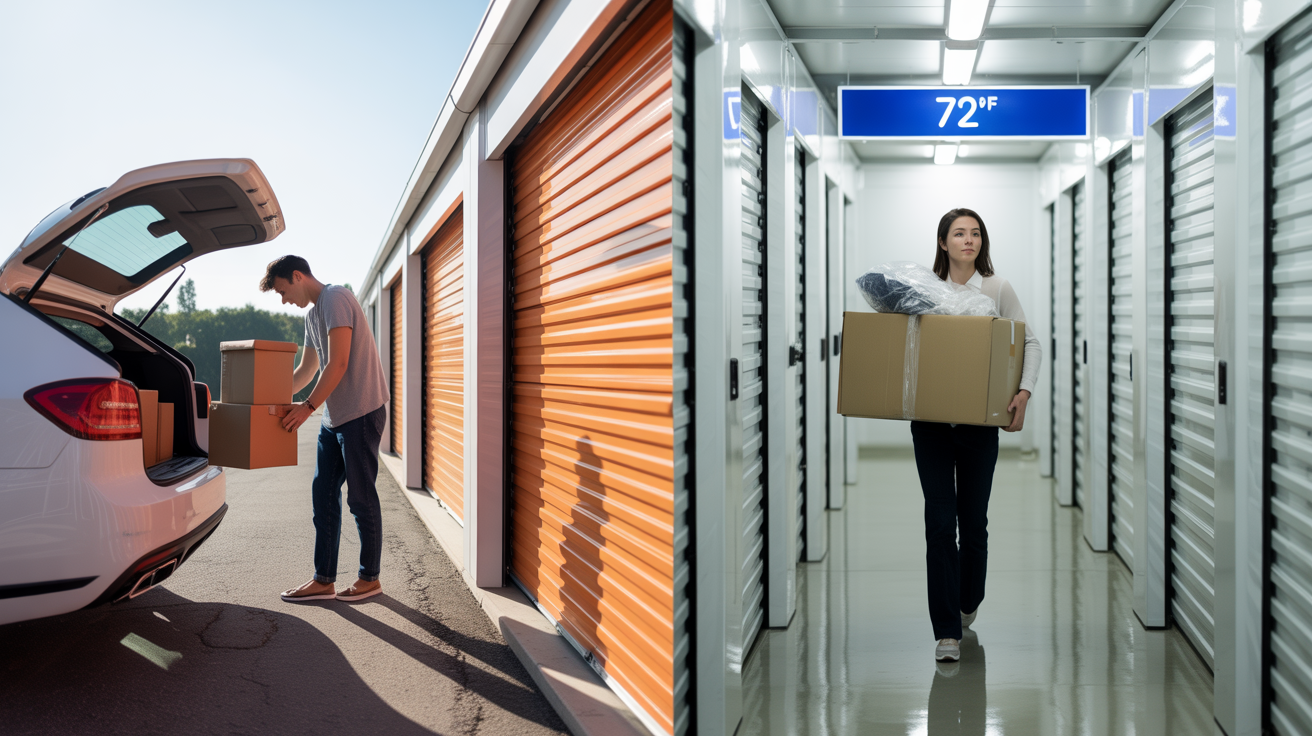
Store batteries in a location that stays above 32°F, ideally between 40°F and 60°F. A garage, basement, or climate-controlled storage unit works well. Connect a trickle charger or battery maintainer to keep the charge between 12.4 and 12.7 volts throughout winter.
Check battery water levels monthly if you have flooded lead-acid batteries. Add distilled water only if plates are exposed. AGM and lithium batteries require no water maintenance but benefit from periodic charge verification.
Interior Cleaning and Pest Prevention
Mice can squeeze through openings as small as a quarter inch, and a single mouse can cause hundreds of dollars in damage by chewing wires, insulation, and upholstery. Thorough cleaning and sealing are your best defenses against winter pest infestations.
Deep Cleaning Checklist
Remove all food items, including canned goods, which can freeze and burst. Clean the refrigerator thoroughly, prop the door open, and turn off the unit. Wipe down all surfaces with a mild disinfectant to remove food residue and odors that attract pests.
Vacuum all carpets, cushions, and fabric surfaces. Check under cushions and in storage compartments for crumbs or forgotten snacks. Empty and clean all trash receptacles, and remove any items with scents that might attract animals.
Sealing Entry Points
Stuff steel wool into gaps around pipes, wires, and other openings where they enter the RV. Mice cannot chew through steel wool, making it more effective than foam or fabric. Pay special attention to areas around the water heater, furnace, and exterior compartments.
Place mouse deterrents such as peppermint oil-soaked cotton balls, dryer sheets, or commercial rodent repellent throughout the interior. Position them in corners, under sinks, and near entry points. Replace deterrents monthly during storage.
Consider leaving cabinet doors and drawers open to improve air circulation and make hiding spots less appealing to rodents. Close all windows, vents, and doors tightly, and cover exterior vents with mesh screens if not already equipped.
Fuel System and Engine Maintenance
Gasoline begins to degrade after 30 days, forming varnish and gum deposits that can clog fuel injectors and carburetors. Diesel fuel can develop algae growth and water contamination during extended storage.
Fuel Stabilization Process
Fill the fuel tank to 90% capacity to minimize condensation and air exposure. Add fuel stabilizer according to package directions, typically 1 ounce per 2.5 gallons of fuel. Run the engine for 10 to 15 minutes to circulate the treated fuel throughout the system.
For diesel RVs, consider adding a biocide to prevent algae growth. Change the fuel filter before storage if it has been more than 15,000 miles or one year since the last change.
Engine and Generator Care
Change the oil and filter before storage. Used oil contains acids and contaminants that can corrode engine components during extended sitting. Fresh oil provides better protection against moisture and corrosion.
Run the generator for 2 hours under load before storage, then add fuel stabilizer and run for another 15 minutes. Some manufacturers recommend running the generator monthly during storage; check your owner's manual for specific recommendations.
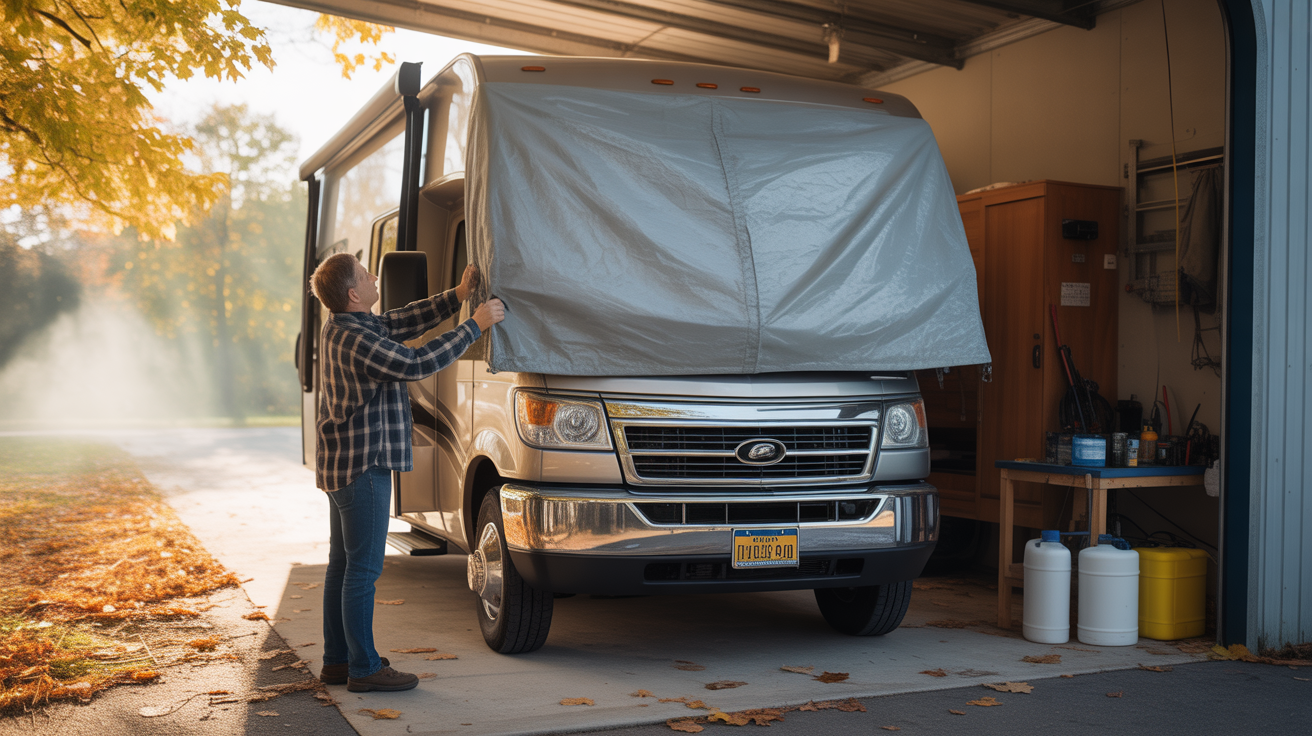
Exterior Protection and Covering
UV rays, snow weight, and moisture cause significant damage to RV exteriors during winter. Proper covering and tire protection extend the life of your investment and reduce spring maintenance requirements.
Choosing the Right Cover
Select a breathable, water-resistant cover designed for your RV type and size. Non-breathable covers trap moisture and promote mold growth. Quality RV covers cost $150 to $400 depending on size and material, but they prevent thousands in potential damage.
Ensure the cover fits snugly without excessive slack that can flap in wind and cause abrasion. Use cover straps or a rope system to secure the cover, especially in high-wind areas like Estes Park where winter gusts can exceed 60 mph.
Tire Protection
Inflate tires to the maximum pressure listed on the sidewall before storage. Tires lose 1 to 2 PSI per month naturally, and cold temperatures accelerate pressure loss. Check pressure monthly and reinflate as needed.
Use tire covers to protect against UV damage, which causes sidewall cracking and premature aging. If possible, park on plywood or rubber mats rather than bare concrete or asphalt, which can leach chemicals into rubber.
For storage exceeding 3 months, consider placing the RV on jack stands to remove weight from the tires. This prevents flat spots, which can develop after 30 to 60 days of stationary storage in cold temperatures.
What is the 3-3-3 RV Rule?
The 3-3-3 rule is a travel guideline, not a storage practice. It recommends driving no more than 300 miles per day, arriving at your destination by 3 PM, and staying at least 3 nights at each location. While not directly related to winter storage, following this rule during the camping season reduces wear and tear, making winterization easier.
What is the 444 Rule for RV?
The 444 rule suggests driving no more than 400 miles per day, stopping by 4 PM, and staying at least 4 nights per destination. Like the 3-3-3 rule, this is a travel guideline designed to reduce fatigue and allow more time to enjoy destinations. Neither rule applies specifically to winter storage preparation.
Choosing the Right Storage Location
Where you store your RV significantly impacts its condition after winter. Indoor storage provides the best protection but costs $100 to $450 per month depending on location and amenities. Outdoor covered storage ranges from $50 to $150 monthly, while open outdoor parking typically costs $30 to $100 per month.
Storage Location Comparison
| Storage Type | Monthly Cost | Protection Level | Best For |
|---|---|---|---|
| Indoor Climate-Controlled | $200 to $450 | Maximum | High-value RVs, vintage units |
| Indoor Unheated | $100 to $250 | High | Most motorhomes and trailers |
| Covered Outdoor | $50 to $150 | Moderate | Budget-conscious owners |
| Open Outdoor | $30 to $100 | Basic | Short-term storage with cover |
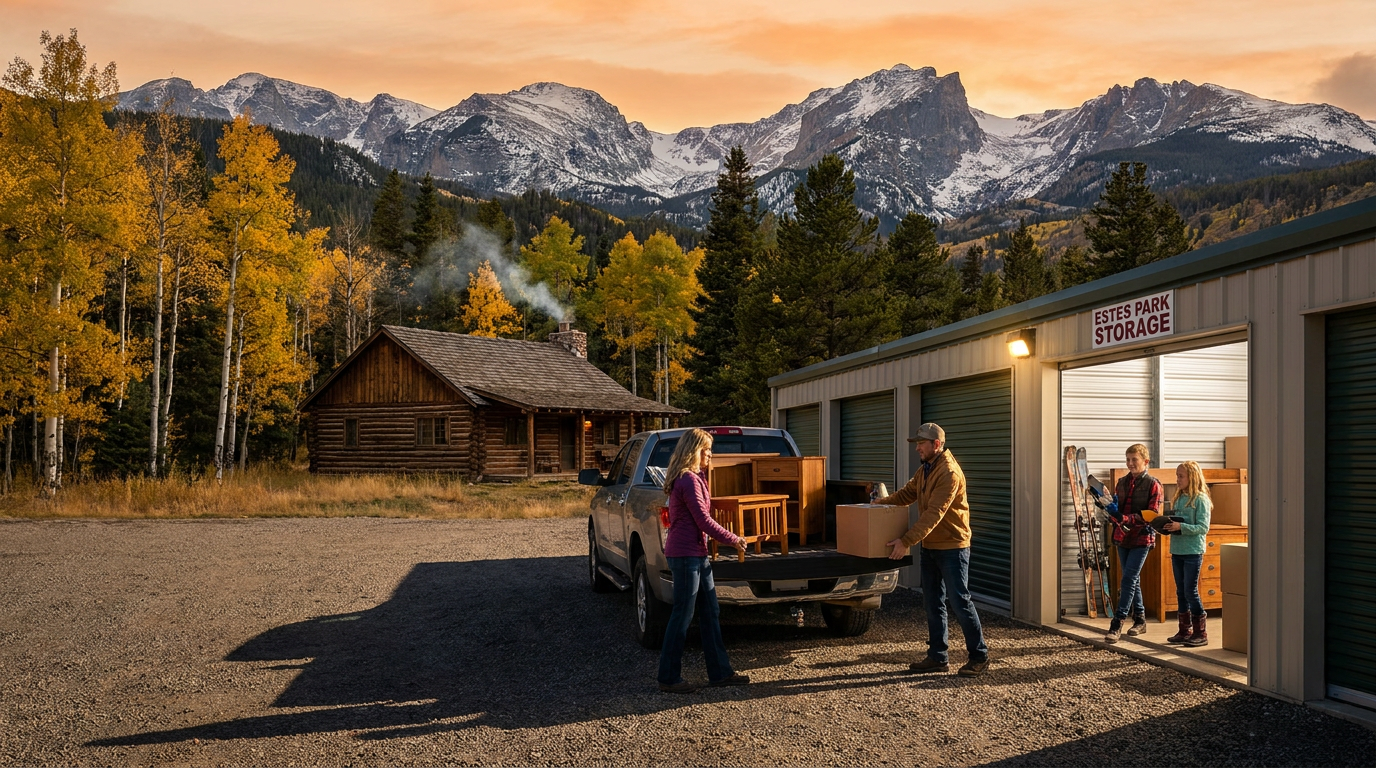
For RV owners in the Estes Park area, outdoor parking spaces offer convenient access with security features including gated entry and surveillance cameras. Month-to-month rentals provide flexibility for seasonal storage needs without long-term commitments.
How Often Should You Check on a Stored RV During Winter?
Inspect your stored RV every 2 to 4 weeks throughout winter. During each visit, check for signs of water intrusion, pest activity, and tire pressure. Start the engine and run it for 15 to 20 minutes to circulate fluids and charge the chassis battery. If your storage facility offers 24/7 access with security features, you can check on your RV at any time.
Monthly Inspection Checklist
- Check tire pressure and inflate to maximum sidewall rating
- Look for rodent droppings or nesting materials
- Inspect roof and seams for ice damage or lifting
- Verify battery charge level on house batteries
- Check for moisture, condensation, or musty odors inside
- Ensure cover remains secure and undamaged
Spring De-Winterization Preview
Proper winterization makes spring startup straightforward. When temperatures consistently stay above 32°F, flush the antifreeze from your water system by connecting to city water and running each faucet until water runs clear. Sanitize the fresh water system with a bleach solution (1/4 cup per 15 gallons of tank capacity), then flush thoroughly before use.
Reconnect batteries, check all fluid levels, and inspect tires for flat spots or cracking. Test all systems including the water heater, furnace, refrigerator, and appliances before your first trip. Address any issues discovered during winter storage before hitting the road.
Taking 3 to 5 hours to properly winterize your RV protects your investment and ensures a trouble-free camping season ahead. The cost of antifreeze, fuel stabilizer, and proper storage is minimal compared to repair bills from freeze damage, pest infestations, or neglected maintenance.
|